WHM/cPanel allows you to configure email notifications for significant server events such as exceeded incoming email thresholds, update failures, account creation, and memory limitations. This proactive approach helps detect changes and prevent common server problems, particularly useful for VPS users who need to stay informed about server issues.
How to Set Up Email Notifications
-
Step 1: Log into WHM
Log into the WHM panel using your root account.
-
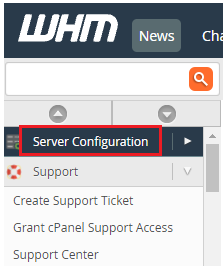
Step 2: Navigate to Server Configuration
From the navigation menu, select "Server Configuration".
-
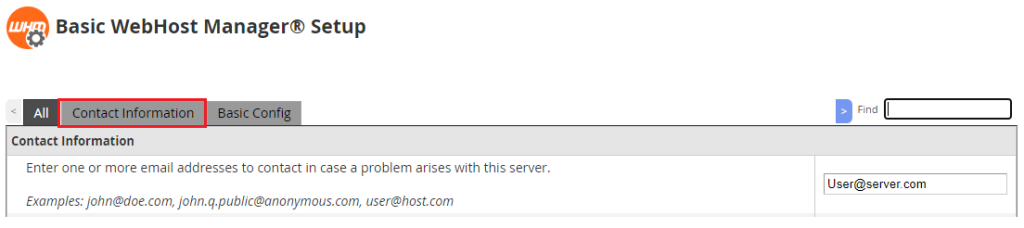
Step 3: Access Contact Information
Click on "Basic WebHost Manager® Setup" and then select the "Contact Information" option.
-
Step 4: Add Email Addresses
Input the email address(es) where notifications from the server will be sent. You can enter multiple email addresses separated by commas.
-
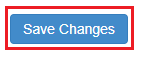
Step 5: Save Contact Information
Scroll down to the bottom and click "Save Changes" to save the email addresses.
-
Step 6: Return to WHM Home
Go back to the Home page of the WHM interface.
-
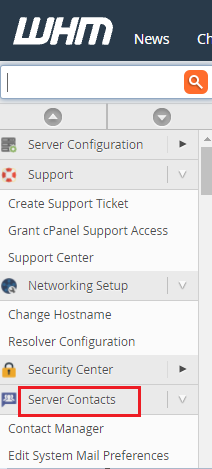
Step 7: Access Server Contacts
Choose "Server Contacts" from the navigation menu.
-
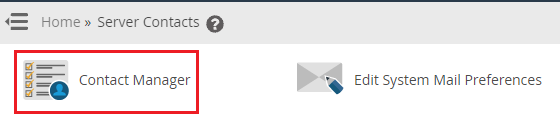
Step 8: Open Contact Manager
Click on "Contact Manager" to modify the system settings for email notifications based on priority.
-
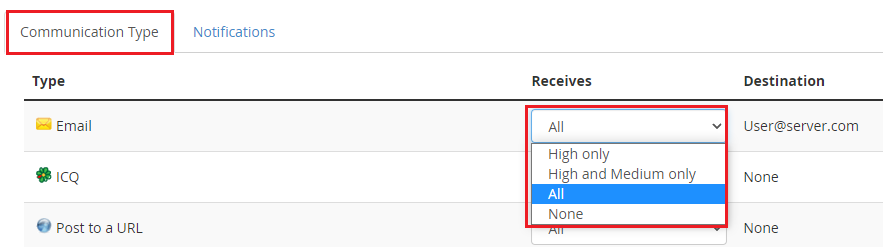
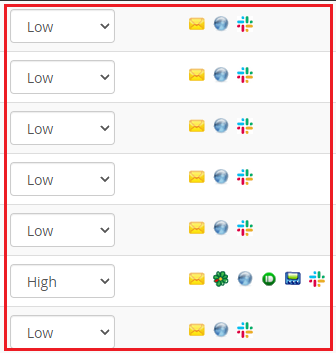
Step 9: Set Communication Priority
Choose the priority of email notifications you wish to receive from the drop-down menu in the "Receives" section under "Communication Type" for Basic WebHost Manager.
-
Step 10: Save Communication Settings
Click the "Save" button to save your communication priority settings.
-
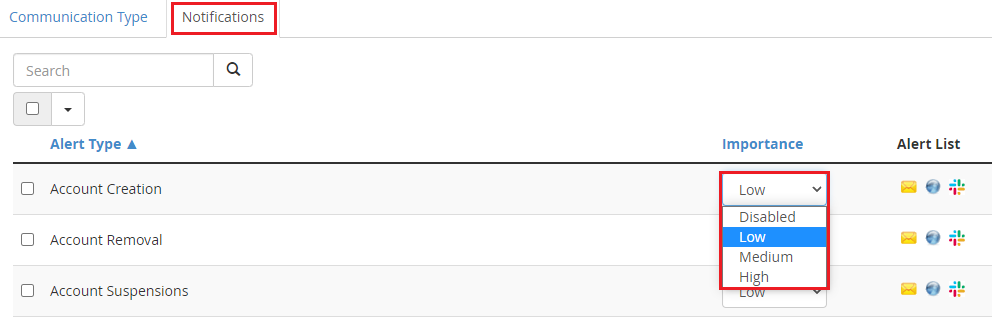
Step 11: Configure Alert Types
Navigate to the "Notifications" tab. Choose the "Alert Type" and assign it a priority level from the drop-down list in the "Importance" column. The system will send email notifications for the selected Alert Types.
-
Step 12: Save Notification Settings
Click the "Save" button to finalize your notification settings.