This guide shows you how to compress and decompress files directly in cPanel's File Manager. Compressing files reduces their size for easier storage and transfer, while decompressing (extracting) restores them to their original format.
Compress a Web File
-
Step 1: Open File Manager
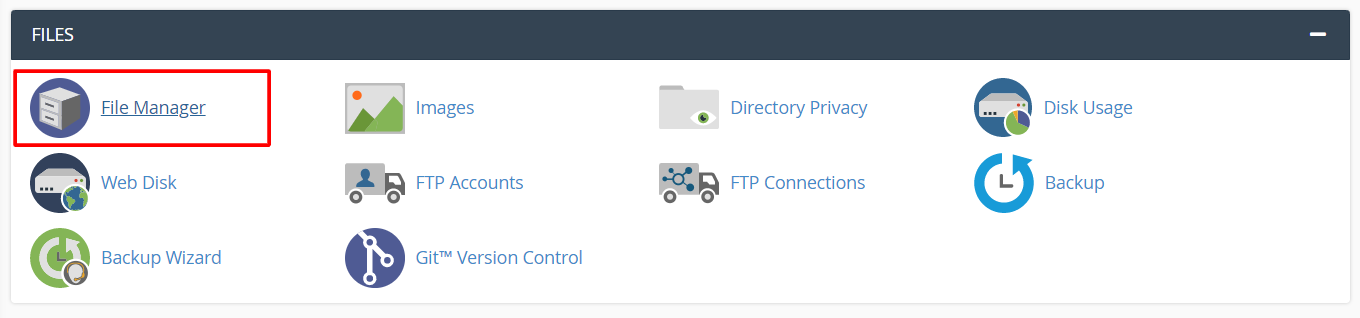
Access your cPanel account and navigate to the FILES section. Click File Manager.
The File Manager interface will open in a new tab.
-
Step 2: Select the File to Compress
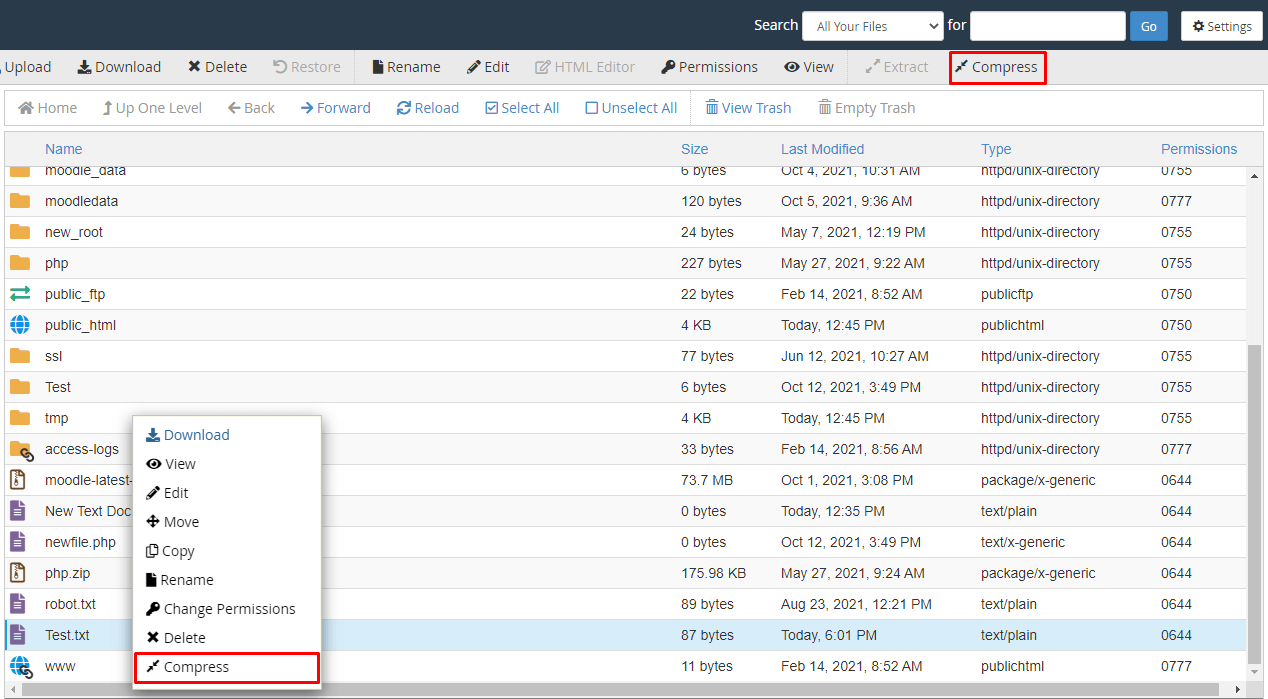
Right-click on the file you wish to compress and select Compress from the context menu.
A popup window will appear with compression options.
-
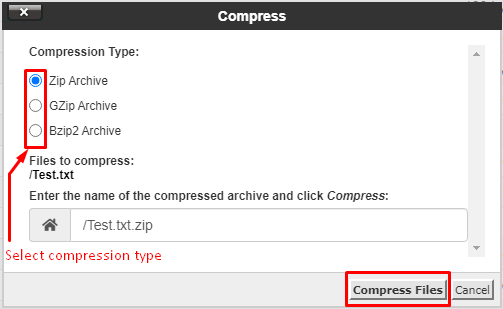
Step 3: Choose Compression Type
Select your preferred compression type from the dropdown menu. You can also modify the name for the compressed file in the text box if desired.
-
Step 4: Complete the Compression
Click the Compress button to start the compression process.
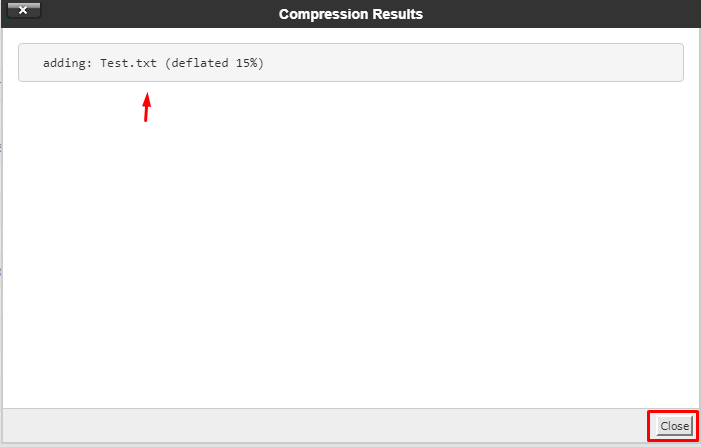
A window will display the compression results. Close it when done.
The compressed file will now appear in your file list.
Decompress a Web File
-
Step 1: Open File Manager
Access your cPanel account and go to the FILES menu. Choose File Manager.
The File Manager interface will open in a new tab.
-
Step 2: Select the Compressed File
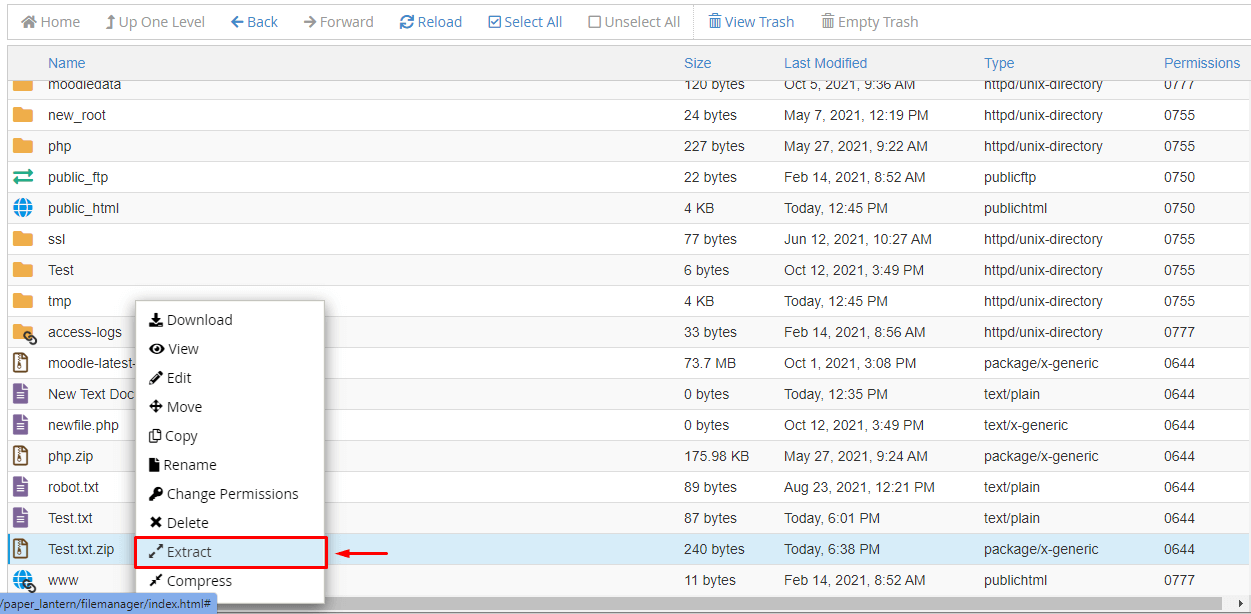
Right-click on the compressed file you want to extract and choose Extract from the menu.
The Extract window will appear.
-
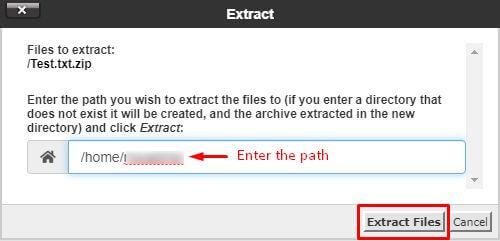
Step 3: Specify Extraction Path
Enter the destination path where you want to extract the files in the text box, then click Extract Files.
-
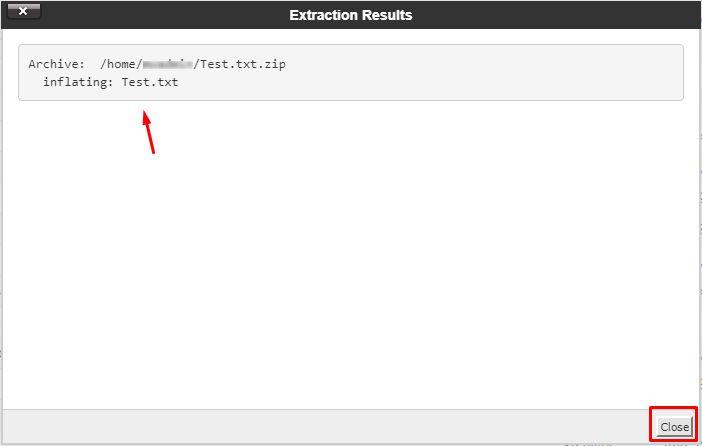
Step 4: Review Extraction Results
The Extract Results window will display a summary of the extraction process. Close it when finished.
Your files are now extracted and ready to use.