Symlink Protection is a security feature in WHM that automatically mitigates vulnerabilities in the Linux kernel by preventing unauthorized access through symbolic links. This guide shows you how to enable this protection to enhance your server's security.
How to Enable Symlink Protection
-
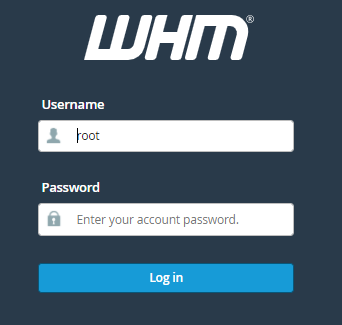
Step 1: Log in to WHM
Access your WHM control panel using your credentials.
-
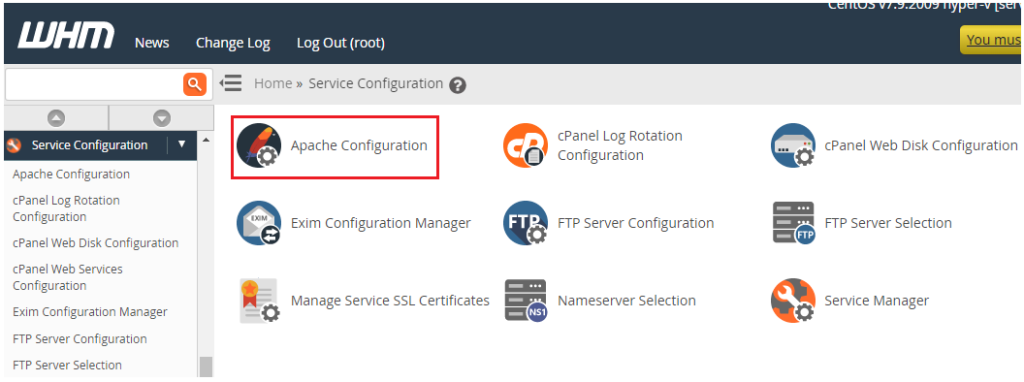
Step 2: Navigate to Apache Configuration
From the left sidebar, locate the Service Configuration section and click on Apache Configuration.
-
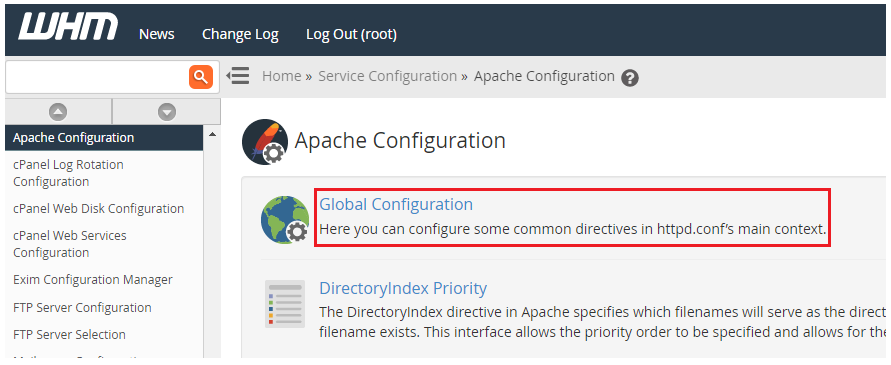
Step 3: Open Global Configuration
Under Apache Configuration, select Global Configuration.
-
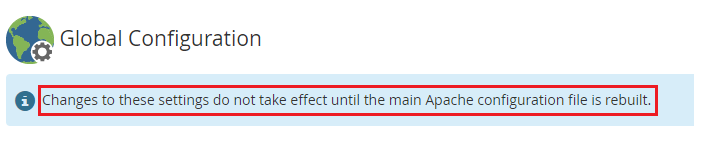
Step 4: Locate Symlink Protection Setting
You will be directed to the Global Configuration page. Scroll down until you find the Symlink Protection option.
-
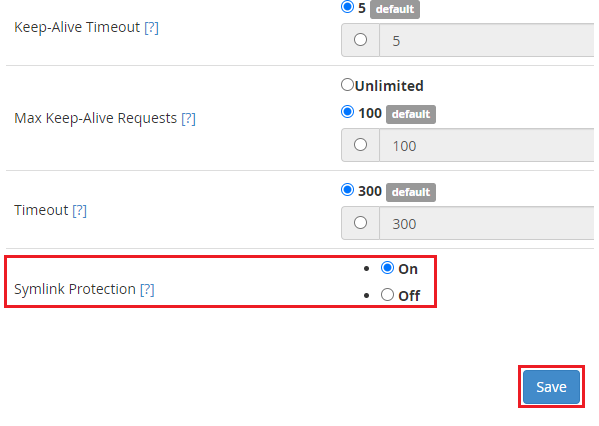
Step 5: Enable Symlink Protection
Toggle the Symlink Protection switch to the On position, then click the Save button to save your changes.
-
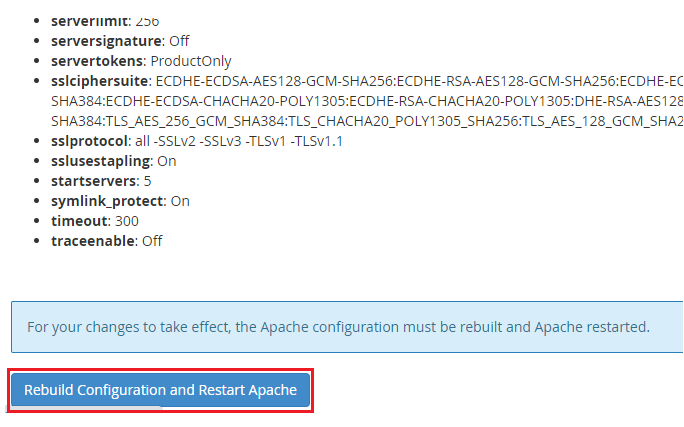
Step 6: Rebuild Configuration and Restart Apache
After saving the configuration, scroll to the bottom of the page and click the Rebuild Configuration and Restart Apache button to apply the changes.
-
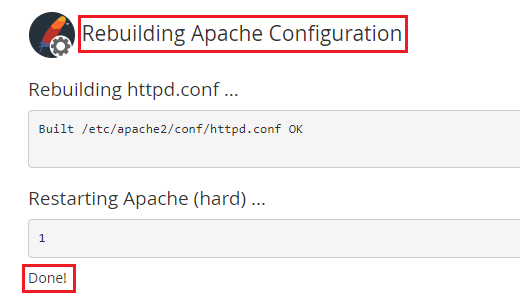
Step 7: Verify Completion
You will receive a confirmation message indicating that Apache has been successfully rebuilt and restarted with Symlink Protection enabled.