cPanel is a widely used control panel for managing domains, databases, and web hosting services. This guide walks you through creating a subdomain in cPanel. A subdomain uses a prefix with your domain name (e.g., blog.yourdomain.com) and exists as a subdirectory within your public_html or home directory.
How to Create a Subdomain
-
Step 1: Log in to cPanel
Open your web browser and navigate to your cPanel login page, typically at
https://yourdomain.com/cpanel.Enter your cPanel username and password to sign in.
-
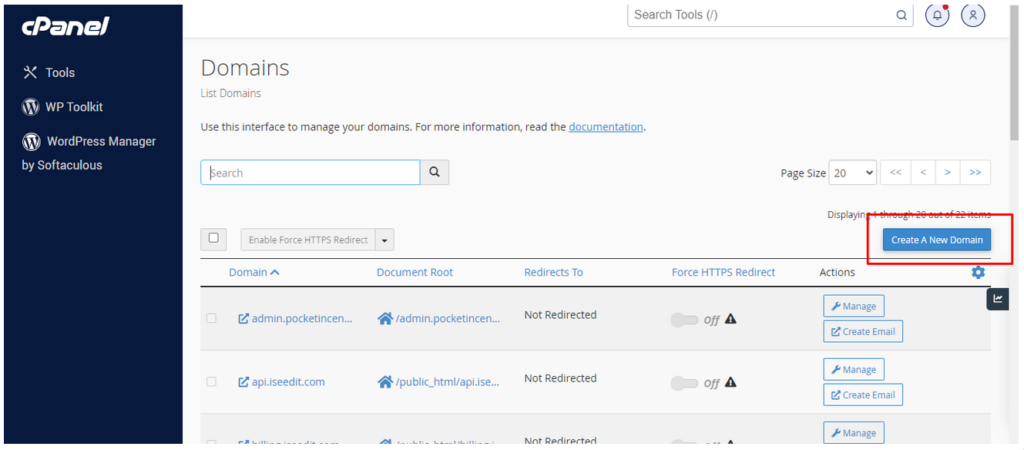
Step 2: Find the Subdomains Section
After logging in, locate the "Domains" section within cPanel.
Click on the "Subdomains" icon.
-
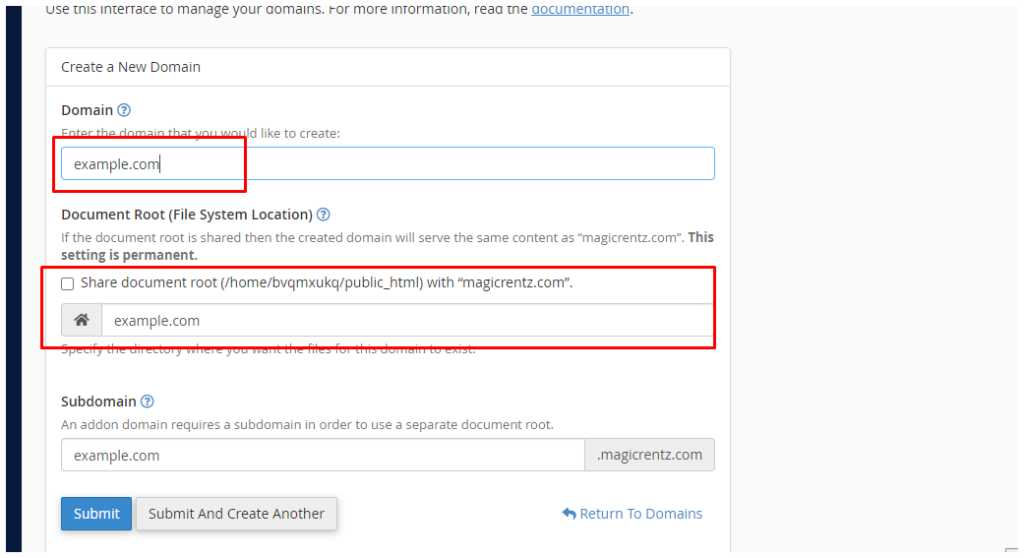
Step 3: Input Subdomain Details
Within the "Create a Subdomain" section, provide the following information:
- Subdomain: Enter your preferred subdomain name (e.g., "blog" for "blog.yourdomain.com").
- Domain: Select the domain for which you are creating the subdomain from the drop-down menu.
- Document Root: This designates the directory where the subdomain files will be stored. cPanel typically auto-generates this based on the subdomain name.
-
Step 4: Click Create
After providing the necessary information, click the "Create" button. This will initiate the creation of the subdomain and configure the essential directories.
-
Step 5: Verify Subdomain Creation
A confirmation message will appear, confirming the successful creation of the subdomain.
Verify the subdomain by accessing it in your web browser. For example, if you created a subdomain named "blog", try accessing
blog.yourdomain.com.Note: It may take some time for DNS changes to propagate across the internet, so your new subdomain might not be immediately accessible after creation.