Administrators with login credentials wield significant control over a server, making it crucial to prioritize the security of admin accounts. Plesk allows you to restrict administrator access to specific IP addresses, effectively preventing unauthorized access from remote locations. This guide walks you through configuring IP access restrictions for Plesk administrators.
How to Restrict Administrator Access
-
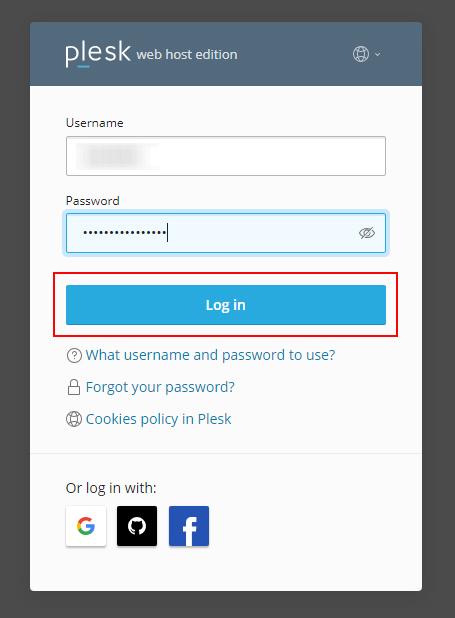
Step 1: Sign in to Plesk
Log in to your Plesk control panel with administrator credentials.
-
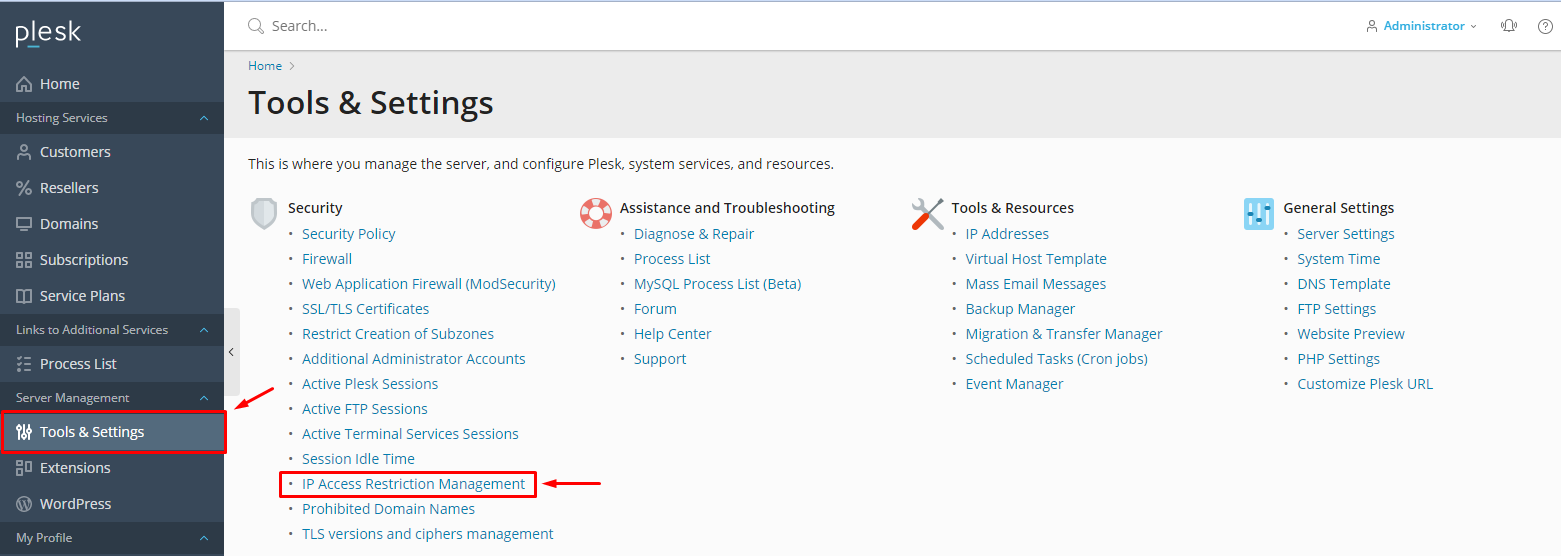
Step 2: Navigate to IP Access Restriction Management
Go to Tools & Settings and locate IP Access Restriction Management under the Security section.
-
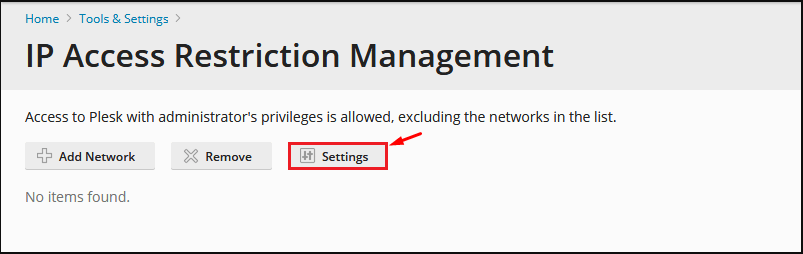
Step 3: Open Settings
Click on the Settings button to configure access restrictions.
-
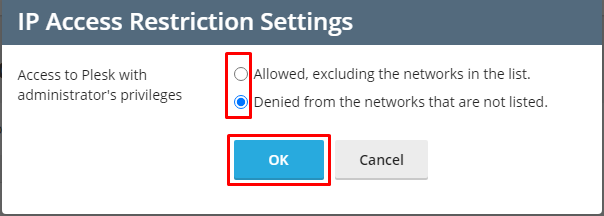
Step 4: Choose Access Policy
Select the appropriate option for your security requirements:
- Allowed, excluding the networks in the list: Users with IP addresses on the list cannot log in as Plesk or Additional Plesk Administrators.
- Denied from the networks that are not listed: Only users with IP addresses on the list can log in as Plesk or Additional Plesk Administrators.
Click OK to save your selection.
-
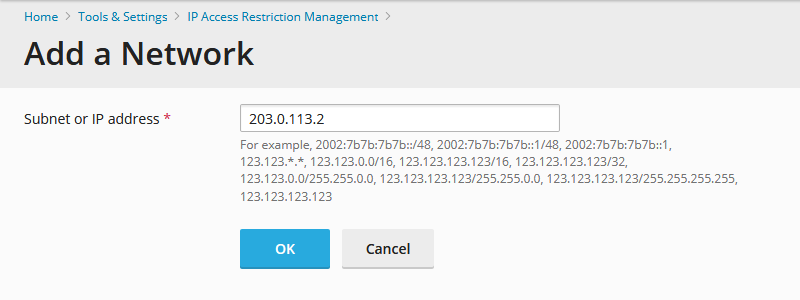
Step 5: Add IP Addresses
Click Add Network to include an IP address or network range based on your chosen policy.