You can enhance the security of your website by uploading an SSL certificate from a third-party Certificate Authority to Plesk. This guide walks you through the process of uploading certificate files and assigning them to your domain, ensuring your site uses HTTPS encryption.
How to Do It
-
Step 1: Access SSL/TLS Certificates
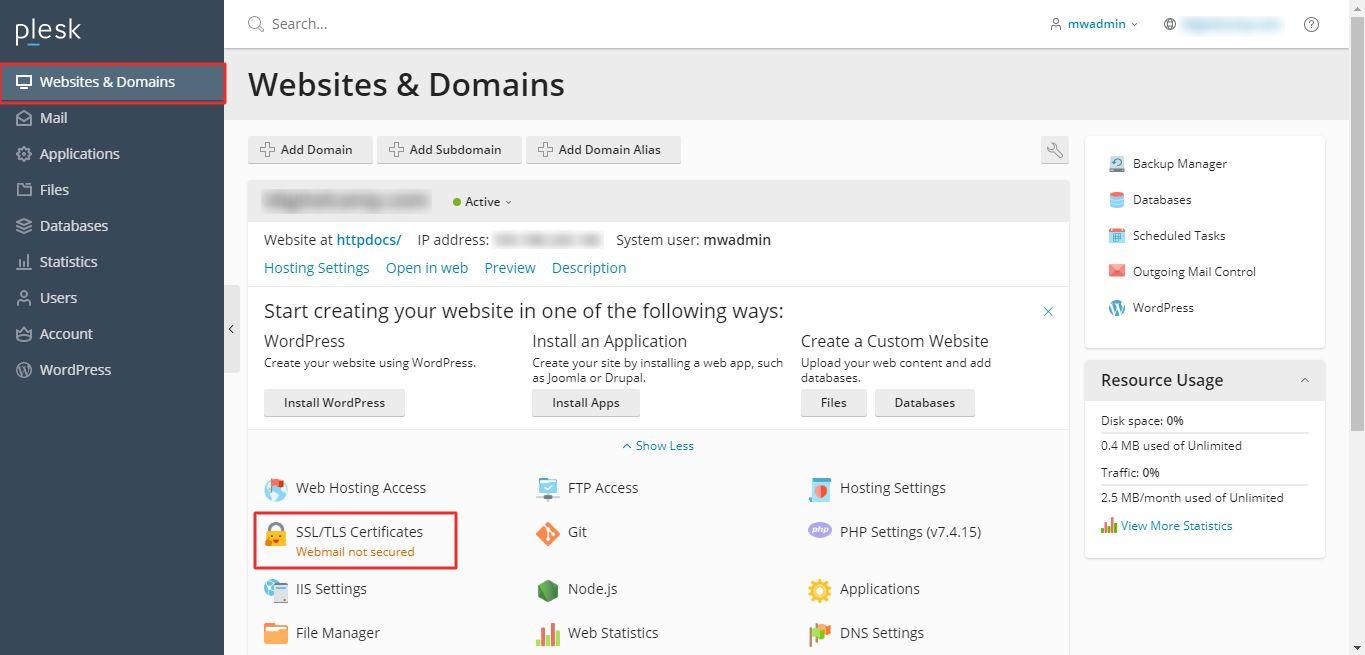
Log in to the Plesk panel.
Navigate to Websites & Domains and select SSL/TLS Certificates.
-
Step 2: Open Advanced Settings
Click on Advanced Settings.
-
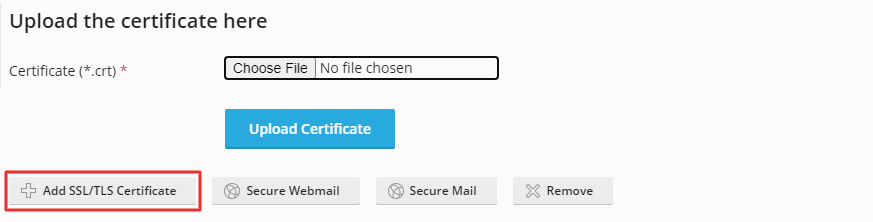
Step 3: Add SSL/TLS Certificate
Select the option to Add SSL/TLS Certificate.
-
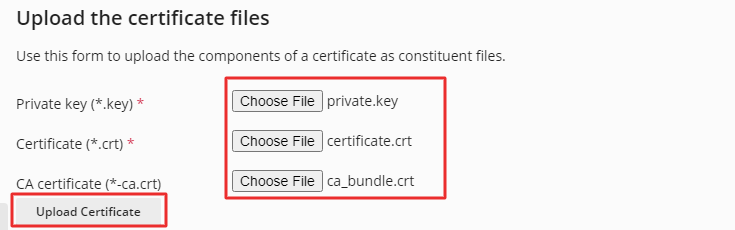
Step 4: Upload Certificate Files
Enter a name for your SSL certificate in the Certificate name field.
Scroll down to the Upload the certificate files section, and choose the files by clicking on Choose Files. Upload these files as components of your certificate.
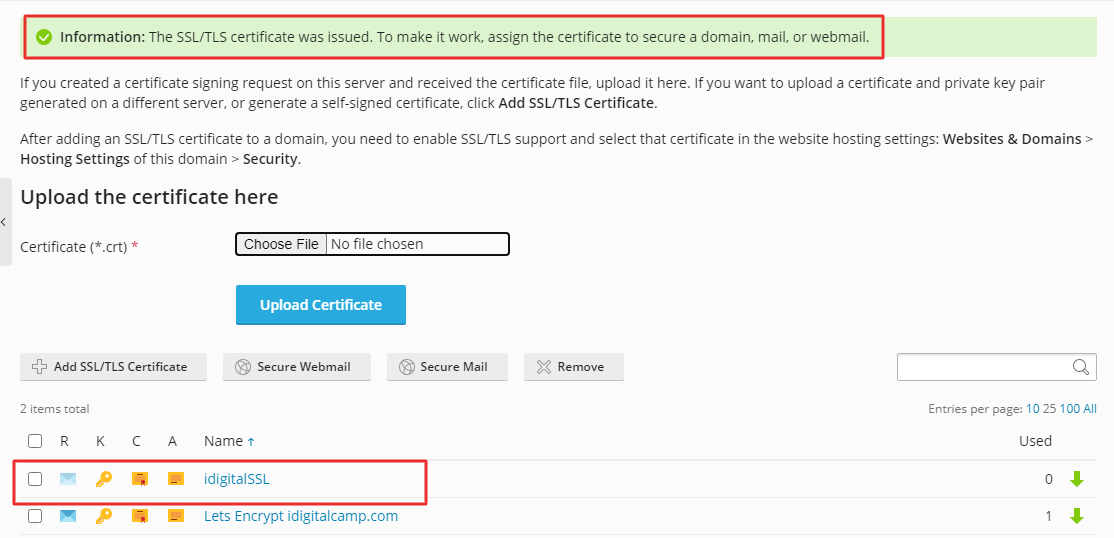
Once everything is prepared, click on the Upload Certificate button.
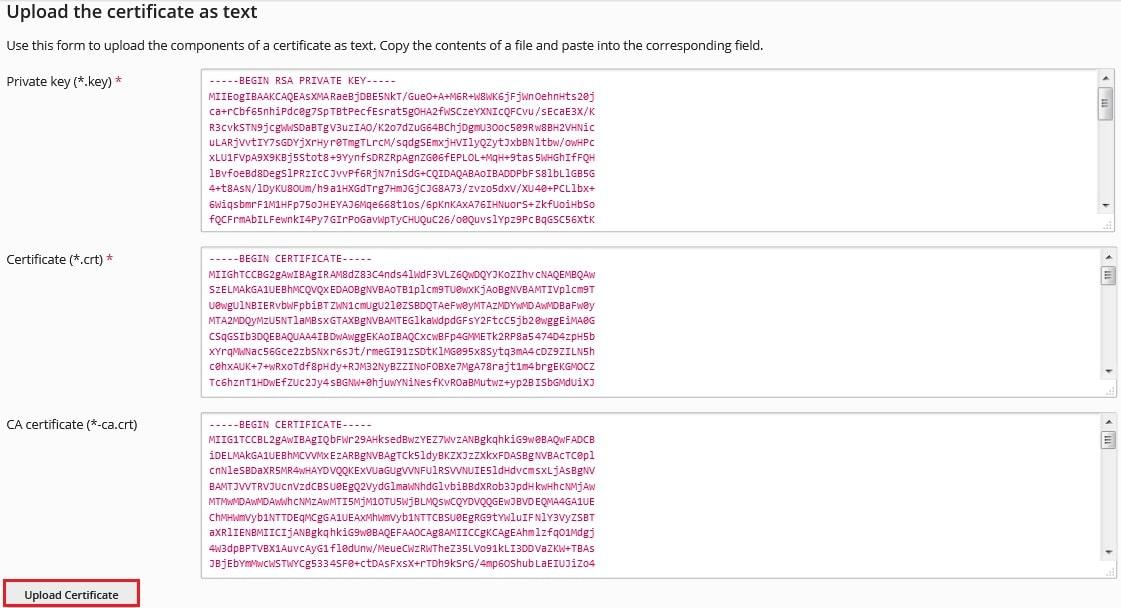
Alternative method: You can also upload the certificate files in text format. Convert the SSL files to text format, paste the content of the text files into the corresponding fields as illustrated below, and then click Upload Certificate:
A success message appears, guiding you to assign the certificate to your domain, mail, or webmail. The SSL certificate is automatically included in the list.
-
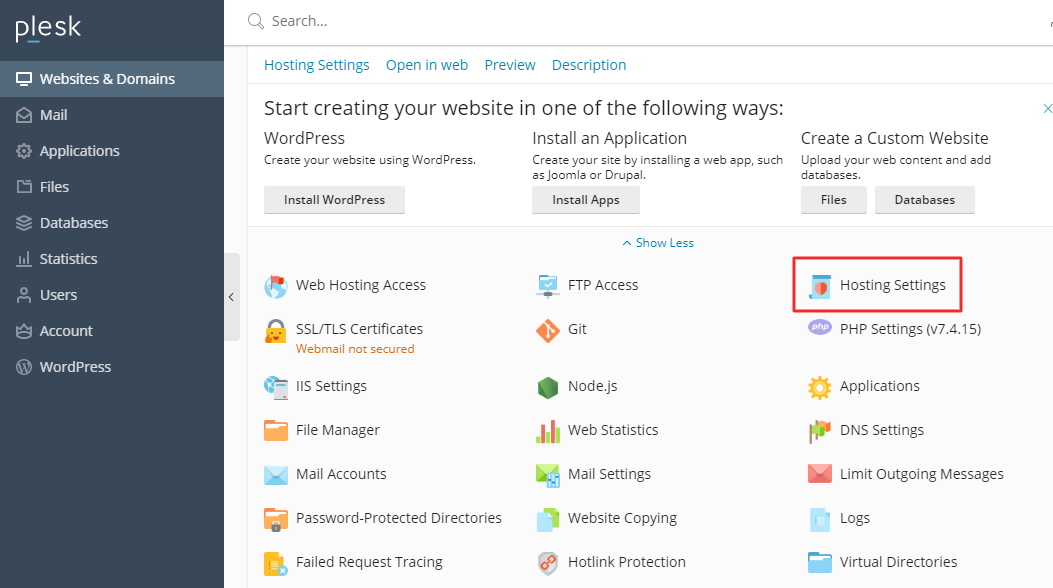
Step 5: Open Hosting Settings
Return to Websites & Domains, and select Hosting Settings.
-
Step 6: Assign the SSL Certificate
Navigate to the Security section, check the box for SSL/TLS support, choose the SSL certificate you uploaded from the dropdown list, and then click the OK button.
A success message is displayed, confirming the successful assignment of the SSL certificate.