Blacklisting a domain in Plesk allows you to block unwanted emails from specific sources using the built-in spam filtering system. While Plesk's spam filter catches most unwanted messages automatically, adding domains to the blacklist ensures that future emails from those sources are blocked entirely. This is particularly effective for preventing spam from specific servers or email addresses.
How to Blacklist a Domain
-
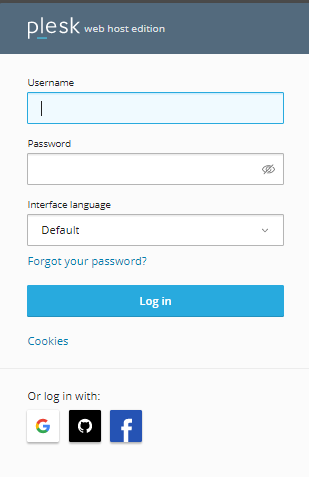
Step 1: Sign in to Plesk
Log in to your Plesk control panel with your administrator credentials.
-
Step 2: Navigate to Tools and Settings
Choose Tools and Settings from the left-hand menu.
-
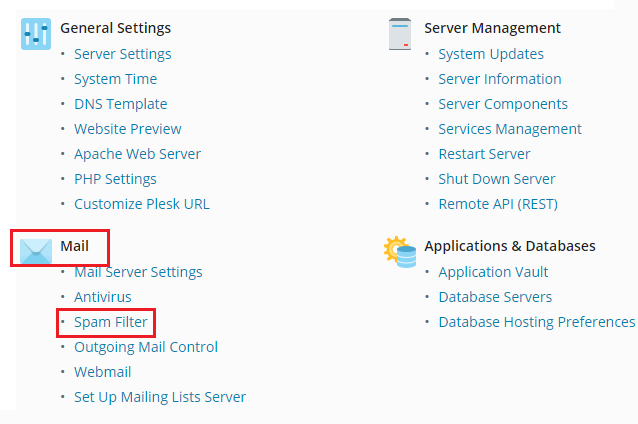
Step 3: Access the Spam Filter
Scroll down to the Mail section and click on Spam Filter.
-
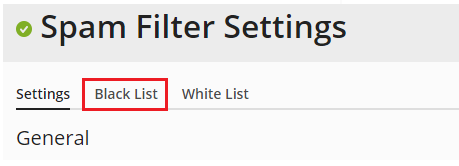
Step 4: Open the Black List
Select the Black List tab at the top of the screen, then click the Add Domain button.
-
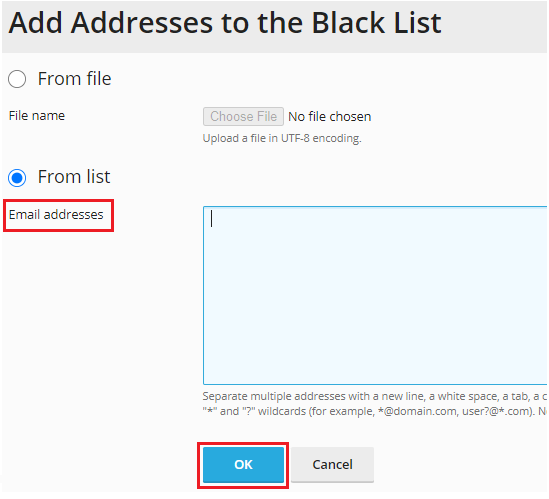
Step 5: Add Email Addresses or Domains
Enter the email addresses or domains you want to blacklist. You can add multiple entries by separating them with a comma, space, or newline.
Click the OK button to save your changes.
-
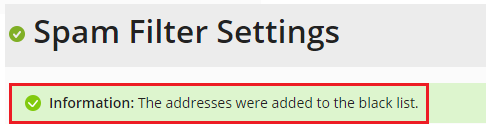
Step 6: Confirm the Changes
You will receive a confirmation notification indicating that the addresses have been successfully added to the blacklist.