Creating regular server backups in Plesk ensures that your data remains safe and recoverable in case of unexpected issues. This guide walks you through using Plesk's Backup Manager to create a comprehensive server backup, including selecting content, configuring storage location, and choosing the right backup settings.
How to Do It
-
Step 1: Log in to Plesk
Log in to your Plesk control panel using your login credentials.
-
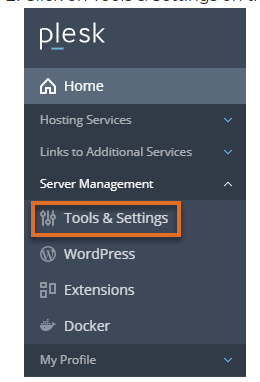
Step 2: Navigate to Tools & Settings
Click "Tools & Settings" on the left side of the admin homepage.
-
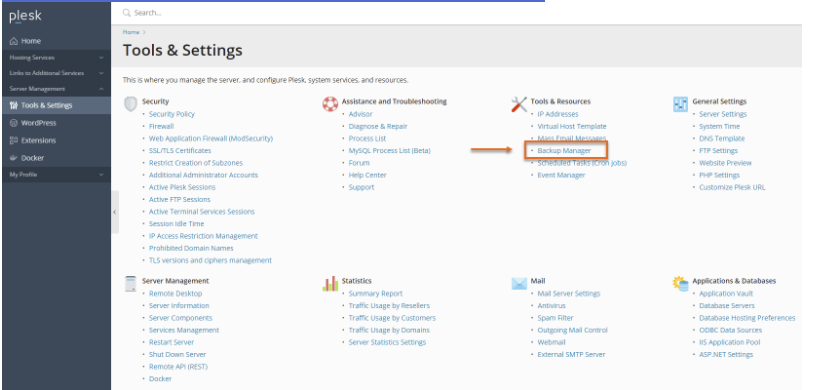
Step 3: Open Backup Manager
Under the "Tools & Resources" section, click "Backup Manager."
-
Step 4: Start Creating a Backup
Click the "Backup" button to start the process of creating a new server backup.
-
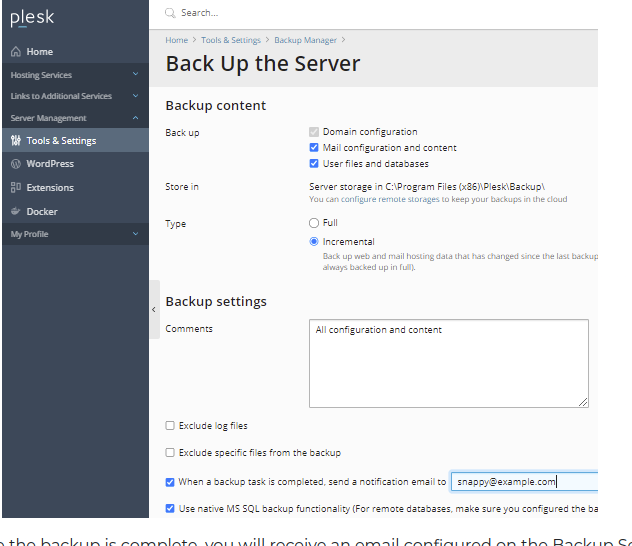
Step 5: Select Backup Content
Select the content you wish to backup from the available options.
-
Step 6: Configure Backup Settings
Configure the backup storage by choosing a backup type and backup settings that suit your needs.
-
Step 7: Locate Your Backup Files
To locate the backup storage location in Plesk Windows, check the
%plesk_dir%\Backup\folder.For a backup of specific users, use the command:
./pleskbackup domain --domains-name exampleuser -output-file /backup/exampleuser_backup.tar