Plesk allows you to create custom user roles with tailored access levels for different user types on your hosting subscription. This guide shows you how to configure, create, and manage User Roles in Plesk to control permissions for websites, DNS, mail, FTP, and other services.
Background
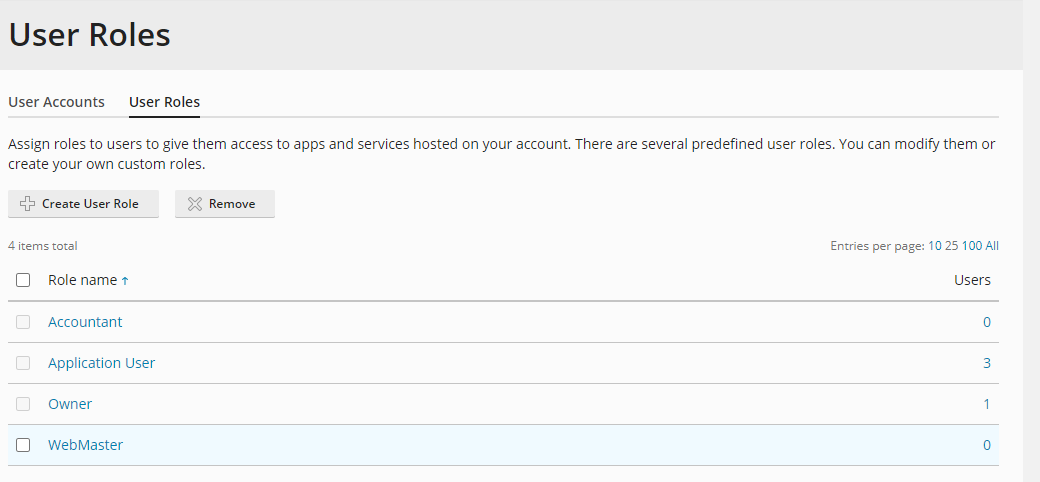
Plesk automatically generates predefined user roles that you can modify or use as templates for custom roles:
- Owner: Full access to all settings and server management functions.
- WebMaster: Can manage assigned subscriptions, create websites, and configure DNS records, mail, and FTP. Cannot create new Plesk users or manage roles.
- Application User: A user with restricted access.
- Accountant: Most limited access in Plesk. Can only view details of assigned subscriptions and cannot modify any settings.
Note: The example pertains to Plesk 18, but the steps remain consistent for other versions of Plesk.
How to Create a Custom User Role
-
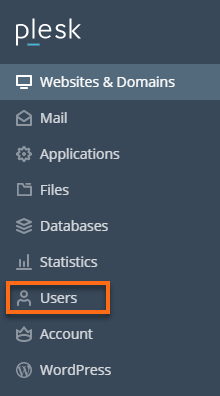
Step 1: Access the Users section
Log in to your Plesk account and navigate to Users in the left-hand menu.
-
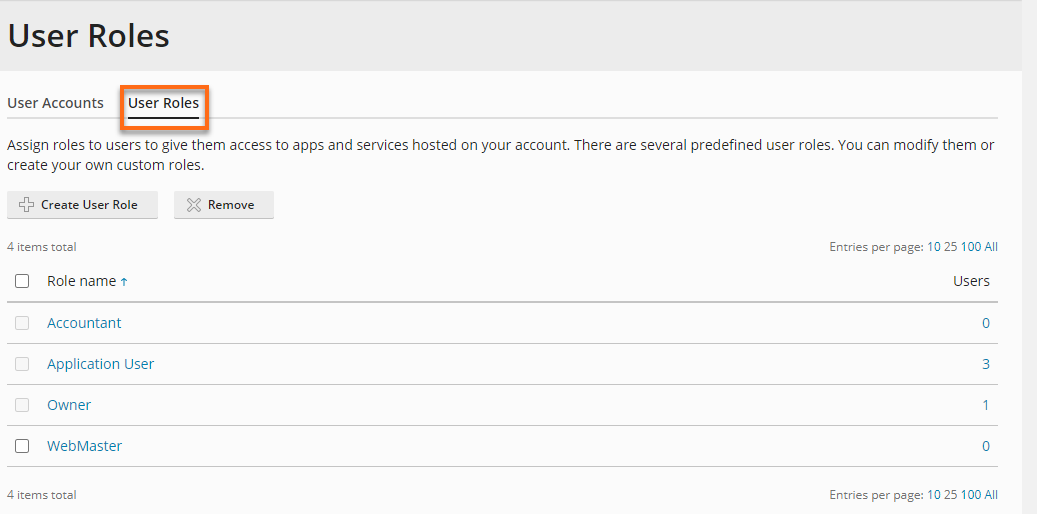
Step 2: Open User Roles tab
Select the User Roles tab.
-
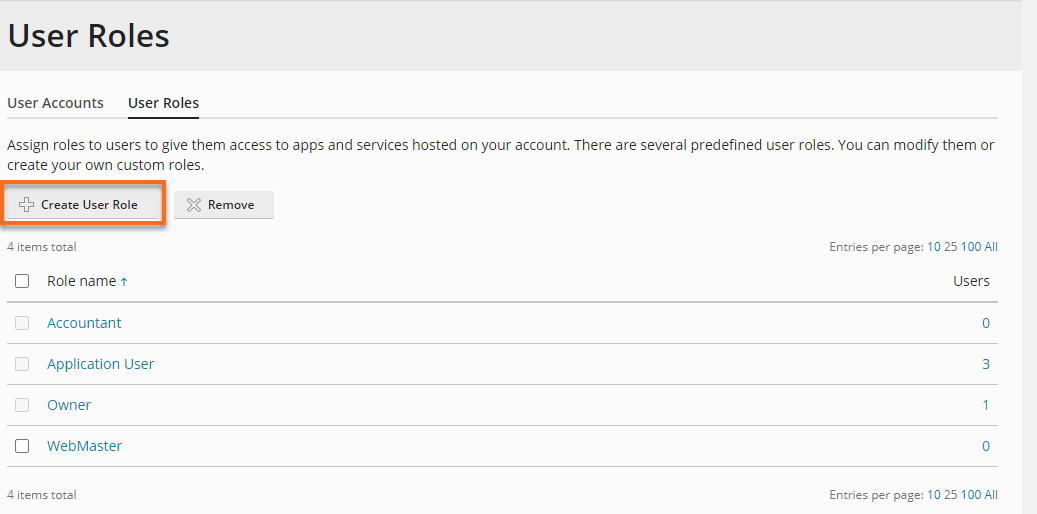
Step 3: Create a new user role
Click on the Create User Role button.
-
Step 4: Name the role
In the designated text box labeled "User role name," enter the desired role name within the "General" category.
-
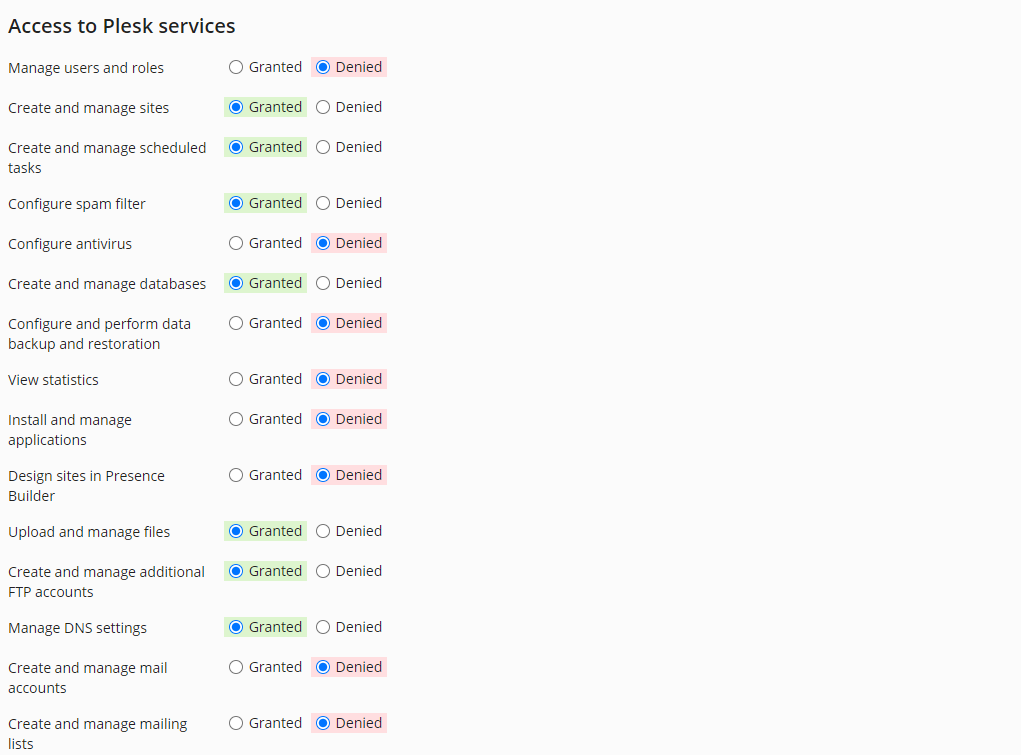
Step 5: Configure permissions
Within the "Access to Plesk Services" section, choose the permissions you want to either grant or deny to the user.
-
Step 6: Save the role
After finishing, click the OK button. You will then find the newly created role in the list, ready for immediate use.
How to Edit Existing User Roles
-
Step 1: Select the role to edit
In the user roles list, choose the role name to edit permissions.
-
Step 2: Modify permissions
Under the "Access to Plesk Services" section, select the permissions to grant or deny the user.
-
Step 3: Save changes
After making changes, click the OK button to save your modifications.