Enhance the security of your website by using a complimentary SSL certificate from Let's Encrypt. This guide walks you through installing the necessary Plesk extensions and generating an SSL certificate for your domain, including options for securing subdomains and mail services.
How to do it
-
Step 1: Access Plesk control panel
Log in to your Plesk control panel and navigate to Websites & Domains.
-
Step 2: Install required extensions
Install the extensions SSL It! and Let's Encrypt from the Plesk extensions catalog.
-
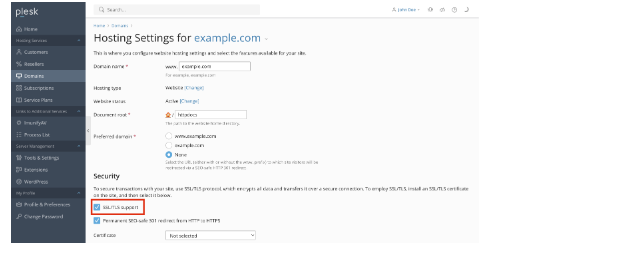
Step 3: Enable SSL/TLS support
Go to Domains > Domain.com > Hosting & DNS > Hosting Settings (or Hosting) and enable SSL/TLS support if it is currently disabled.
-
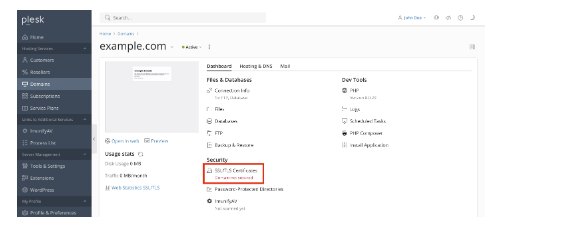
Step 4: Navigate to SSL/TLS Certificates
Go to Domains > example.com and click SSL/TLS Certificates.
-
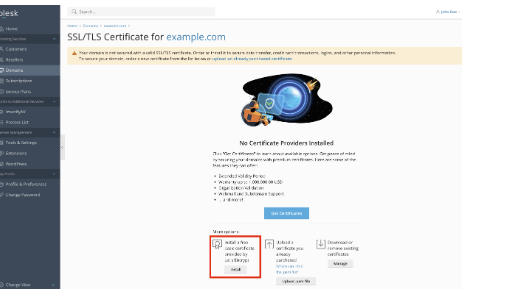
Step 5: Install Let's Encrypt certificate
At the bottom of the page, click Install under the section More options > Install a free basic certificate provided by Let's Encrypt.
-
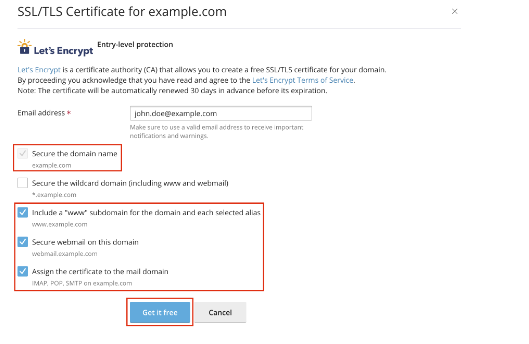
Step 6: Configure certificate options
Select the desired options for the certificate, including:
- Securing the domain name
- Including a "www" subdomain
- Assigning the certificate to the mail domain
Click Get it free or Install to complete the process.
Note: Let's Encrypt certificates are automatically renewed by Plesk before they expire, typically every 90 days.