Plesk allows you to install both free and premium SSL/TLS certificates using Let's Encrypt's "SSL It!" extension. This guide walks you through the process of securing your domain with a free Let's Encrypt certificate directly from the Plesk control panel.
How to Install an SSL Certificate
-
Step 1: Access SSL/TLS Certificates
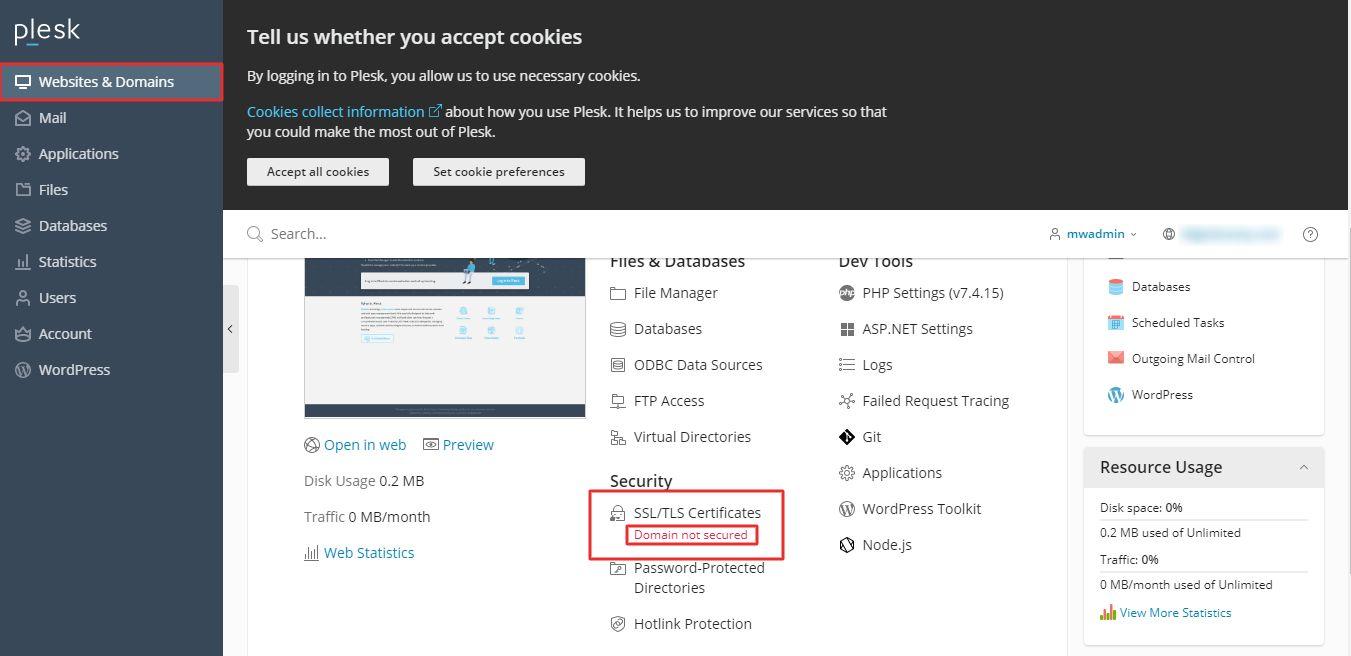
Log in to your Plesk account and navigate to Websites and Domains, then select SSL/TLS Certificates.
Note: The status "Domain not secured" will be visible under SSL/TLS Certificates, indicating that the domain lacks SSL protection.
-
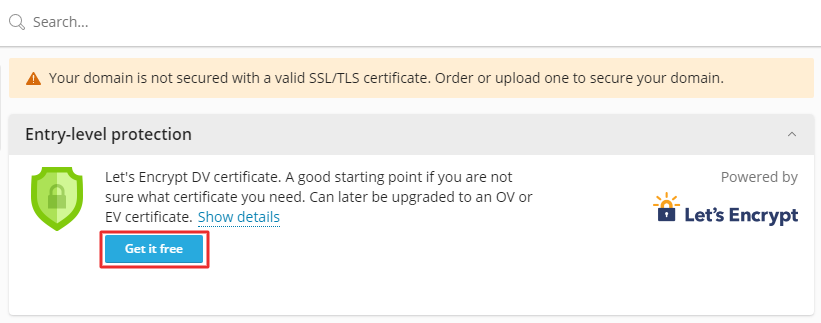
Step 2: Initiate Free Certificate Request
Click the "Get it free" button to start the Let's Encrypt certificate installation process.
-
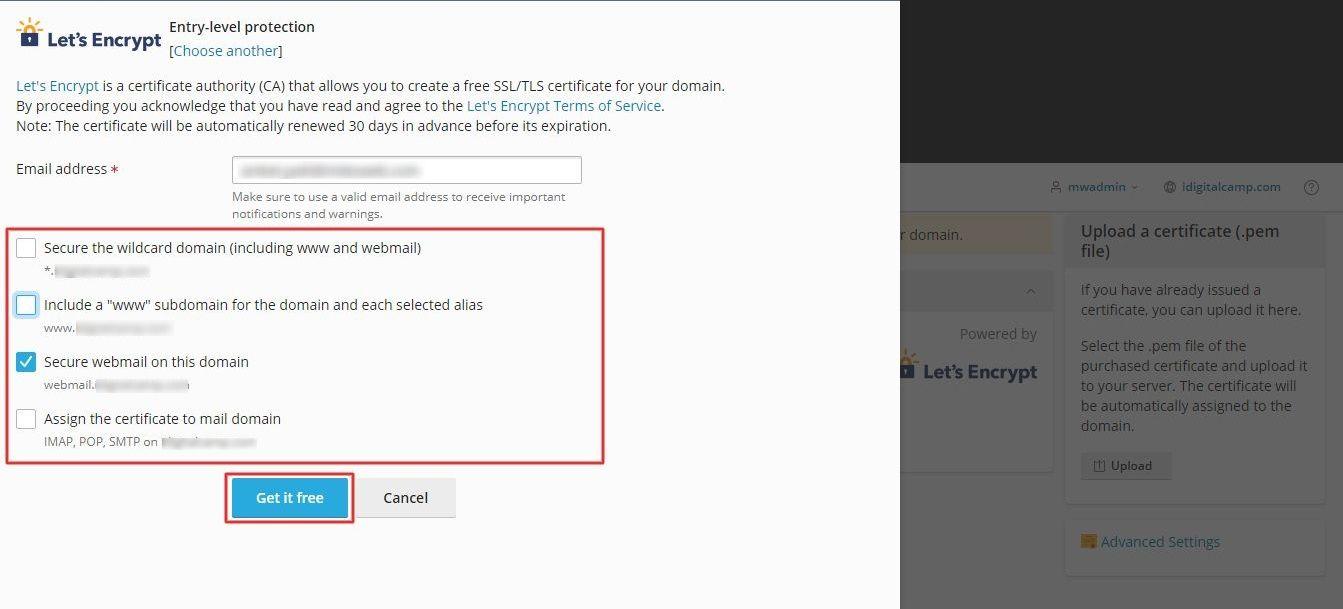
Step 3: Configure Certificate Options
The Let's Encrypt SSL certification window will appear. Enter an email address for notifications and lost-key recovery.
Choose what to secure in addition to the main domain:
- Wildcard Domain: Matches one or more subdomains
- "www" subdomain and selected domain aliases
- Webmail on the main domain
- IMAP, POP, SMTP mail domains
Select the desired options, then click the "Get it free" button.
-
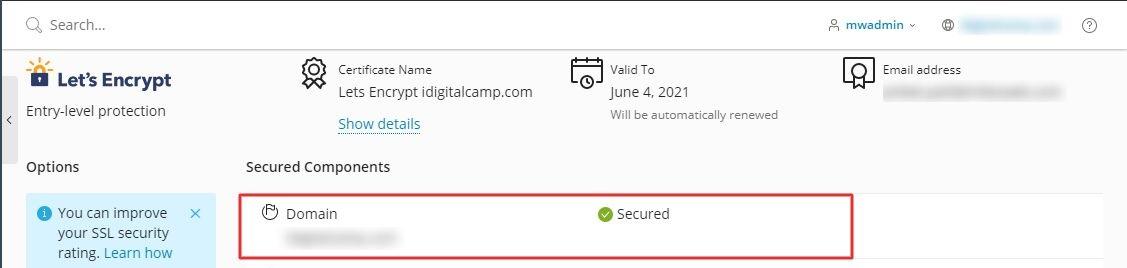
Step 4: Verify Installation
Let's Encrypt will generate and install the SSL/TLS certificate automatically. Once complete, return to SSL/TLS Certificates and inspect the list of Secured Components. Your domain will now be marked as secured.