MX records designate the mail server responsible for receiving email messages associated with a domain. Domains with multiple mail servers can establish the priority of their MX records to dictate the sequence in which the servers are utilized. This guide details the process of altering Mail Exchanger (MX) record priorities in Plesk.
Note: If you have a shared hosting package, kindly request assistance from our support team to modify MX record entries for your domain.
How to Modify MX Record Priority
-
Step 1: Sign in to Plesk
Sign in to your Plesk account.
-
Step 2: Navigate to Websites & Domains
Navigate to Websites & Domains in the left-hand panel.
-
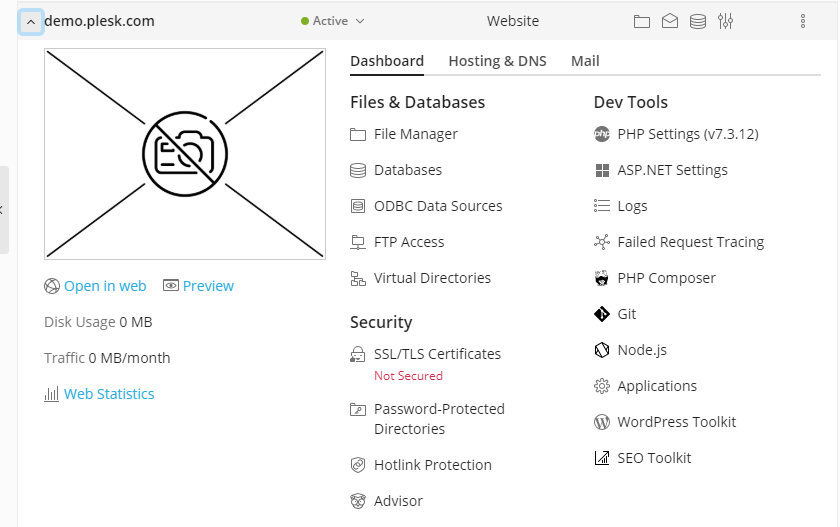
Step 3: Select the Domain
On the main screen, click to expand the section for the specific domain for which you want to modify the MX record.
-
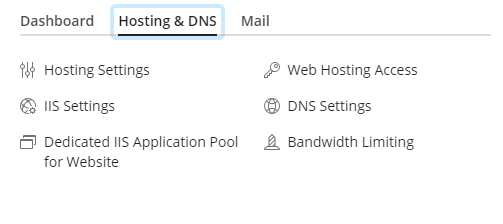
Step 4: Access DNS Settings
Select the Hosting & DNS tab from the menu.
Within the Hosting & DNS section, click on DNS Settings.
-
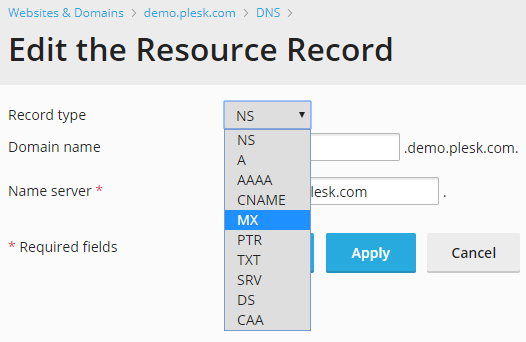
Step 5: Locate and Edit the MX Record
Within DNS Settings, locate the list of records. Click on the MX record you intend to modify, and the Edit the Resource Record screen will appear.
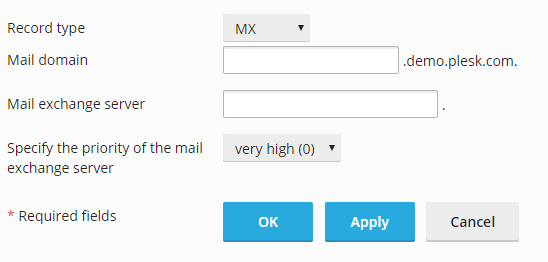
On the Edit the Resource Record page, access the Record Type dropdown box and choose the MX option.
-
Step 6: Enter Mail Server Details
A new set of fields will emerge. Input the details of your mail server (e.g.,
mail.example.com) into the Name Server field. -
Step 7: Set Priority
Utilize the dropdown box next to "Specify the priority of the mail exchange server." Choose the desired priority, ranging from 50 (lowest priority) to 0 (highest priority).
-
Step 8: Save Changes
To save your modifications, click OK.