This guide shows you how to view and manage installed applications in your Plesk reseller hosting account. You can check which applications are currently installed, configure update settings, and add or remove applications as needed.
How to do it
-
Step 1: Log in to Plesk
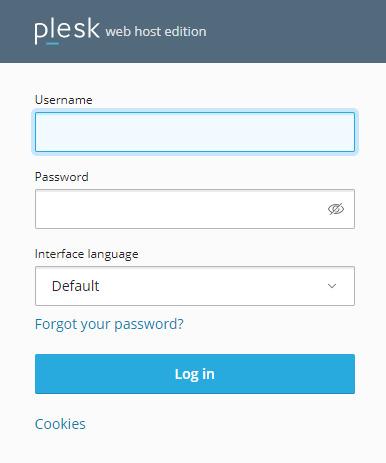
Access your Plesk control panel using your reseller account credentials. Enter your username and password in the respective fields and click on the 'Log In' button.
-
Step 2: Open Tools and Settings
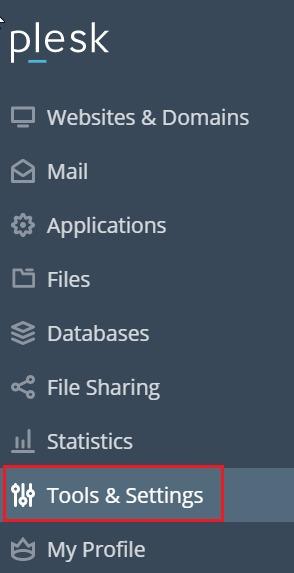
Once logged in, navigate to the left side menu. Click on the Tools and Settings option to access various administrative settings.
-
Step 3: Access Application Vault
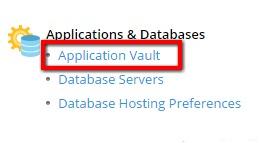
In the Tools and Settings section, scroll down to find the 'Applications' category. Click on Application Vault to manage your installed applications.
-
Step 4: View installed applications
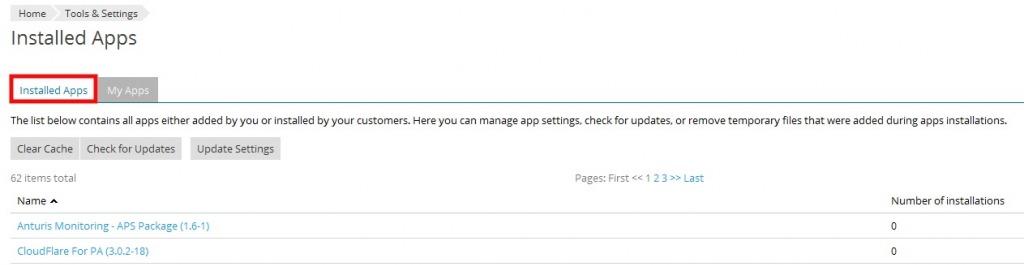
The Application Vault dashboard will display a list of all applications currently installed on your reseller account. Each application is listed with its name, version, and the domain it's associated with.
-
Step 5: Configure update settings (optional)
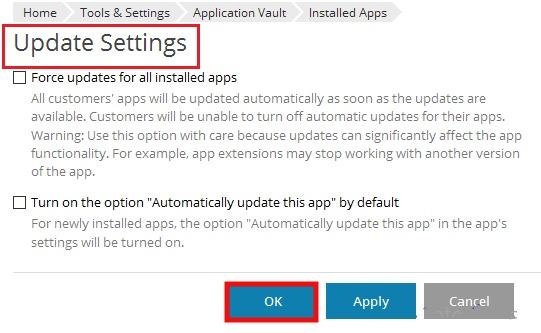
To manage how your applications are updated, click on the Update Settings tab. Here you can choose to force updates for all installed applications or enable auto-update for selected applications only. After making your selection, ensure to click OK to save your changes.
-
Step 6: Manage applications
To add or remove applications, click on the My Apps tab. Here you can see a list of all your installed applications along with options to manage them. To install a new application, use the 'Add Application' button and follow the prompts. To remove an application, select it from the list and click on the 'Remove' button.

Tips:
- Regularly check for updates to ensure your applications are secure and running the latest features.
- Always back up your data before making any changes to installed applications.
- If you encounter issues with an application, consider reaching out to Plesk support or checking their official documentation for troubleshooting tips.