MySQL is an open-source database management system, commonly installed as part of the popular LAMP (Linux, Apache, MySQL, PHP/Python/Perl) stack. It uses a relational database and SQL (Structured Query Language) to manage its data. This guide walks you through installing MySQL 5.7 on Ubuntu 18.04 and securing your installation with recommended security settings.
Prerequisites
- Ubuntu 18.04 Linux operating system
- A root or non-root user with sudo privileges
- Stable internet connection
- Terminal window / command line access
How to Install MySQL
-
Step 1: Update local repositories
Update the local package index with the apt-get command. Open a terminal window and run:
sudo apt-get update -
Step 2: Install MySQL 5.7 Server
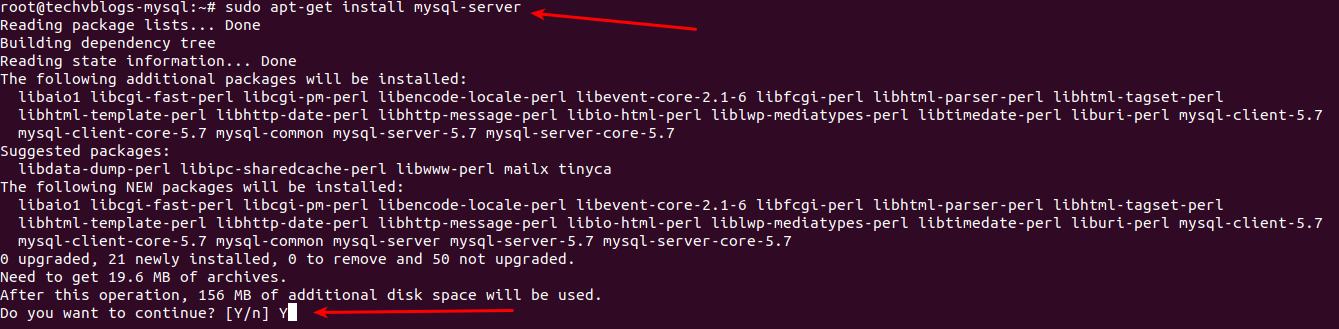
Run the following command as sudo to install MySQL from APT-GET repositories:
sudo apt-get install mysql-serverA [Y/n] question to continue with the installation may appear during the installation process. Press Y and hit Enter to proceed.
-
Step 3: Verify MySQL installation
After the installation, the MySQL server should start automatically. To check the installed version, run:
mysql --version -
Step 4: Manage the MySQL process
Now that MySQL is up and running, here are basic management commands:
To stop MySQL:
sudo systemctl stop mysqlTo start MySQL:
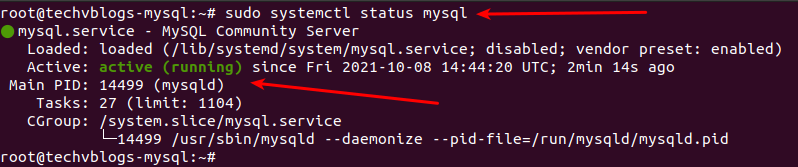
sudo systemctl start mysqlTo check MySQL status:
sudo systemctl status mysql -
Step 5: Configure MySQL security
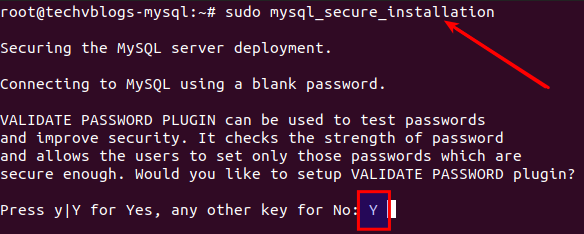
By default, MySQL lacks many basic security features. Use the
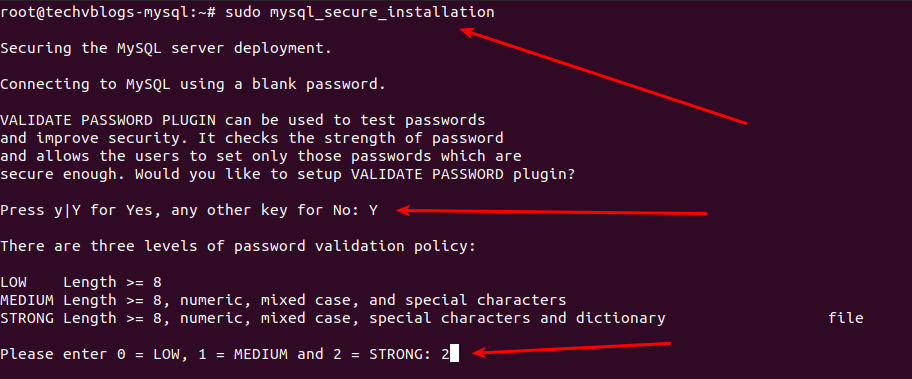
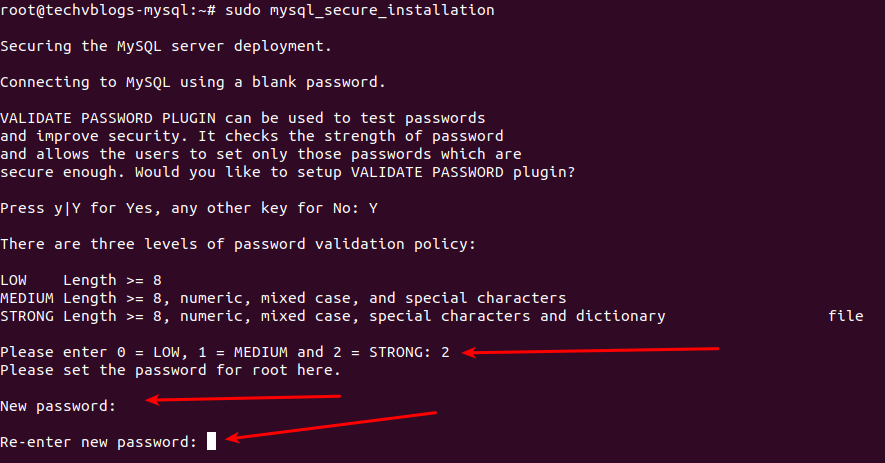
mysql_secure_installationscript to configure security settings:sudo mysql_secure_installationYou will be asked to configure the VALIDATE PASSWORD PLUGIN, which tests the strength of MySQL user passwords. Type Y to enable it:
Enter the number for the password strength level and press Enter:
Enter and re-enter your password:
The system will display the password strength and ask if you want to continue. Type Y and press Enter.
Answer the following security questions:
Remove anonymous users?
Type Y and press Enter.
Disallow root login remotely? It is recommended to allow root connections only from the local system.
Type Y and press Enter.
Remove test database?
Type Y and press Enter if you want to remove it.
Reload privilege tables?
Type Y and press Enter to apply all security changes.
-
Step 6: Log in to MySQL and configure authentication
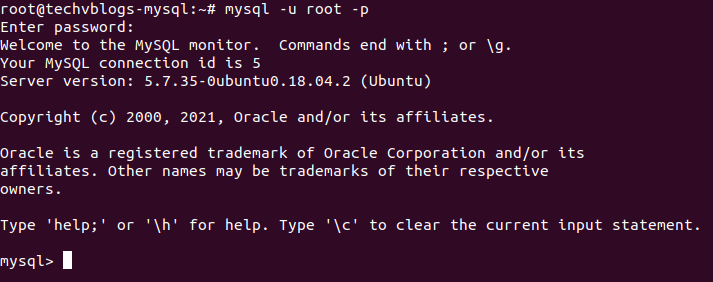
Log in to MySQL with the root user:
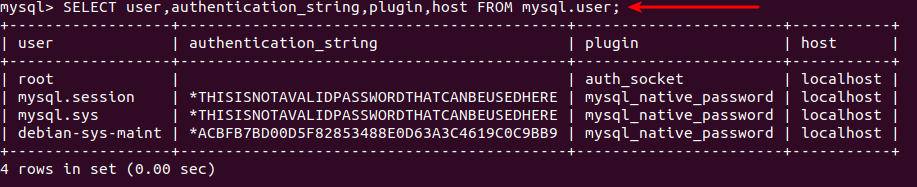
mysql -u root -pCheck which authentication method each MySQL user uses:
SELECT user,authentication_string,plugin,host FROM mysql.user;Change the authentication method from
auth_sockettomysql_native_password:ALTER USER 'root'@'localhost' IDENTIFIED WITH mysql_native_password BY 'YOUR_STRONG_PASSWORD';After executing the ALTER USER command, flush privileges:
FLUSH PRIVILEGES;Verify the authentication method has changed:
SELECT user,authentication_string,plugin,host FROM mysql.user;You should now see that the root user is using the
mysql_native_passwordplugin for authentication.