phpMyAdmin is a versatile tool that enables you to modify table columns in MySQL and MariaDB databases. This guide shows you how to access and edit column attributes such as name, data type, field length, and default values through the phpMyAdmin interface available in cPanel, Plesk, and DirectAdmin.
So here's how you do it
-
Step 1: Log in to your control panel
Access your hosting control panel account (cPanel, DirectAdmin, or Plesk).
-
Step 2: Open phpMyAdmin
Navigate to and select phpMyAdmin from your control panel.
-
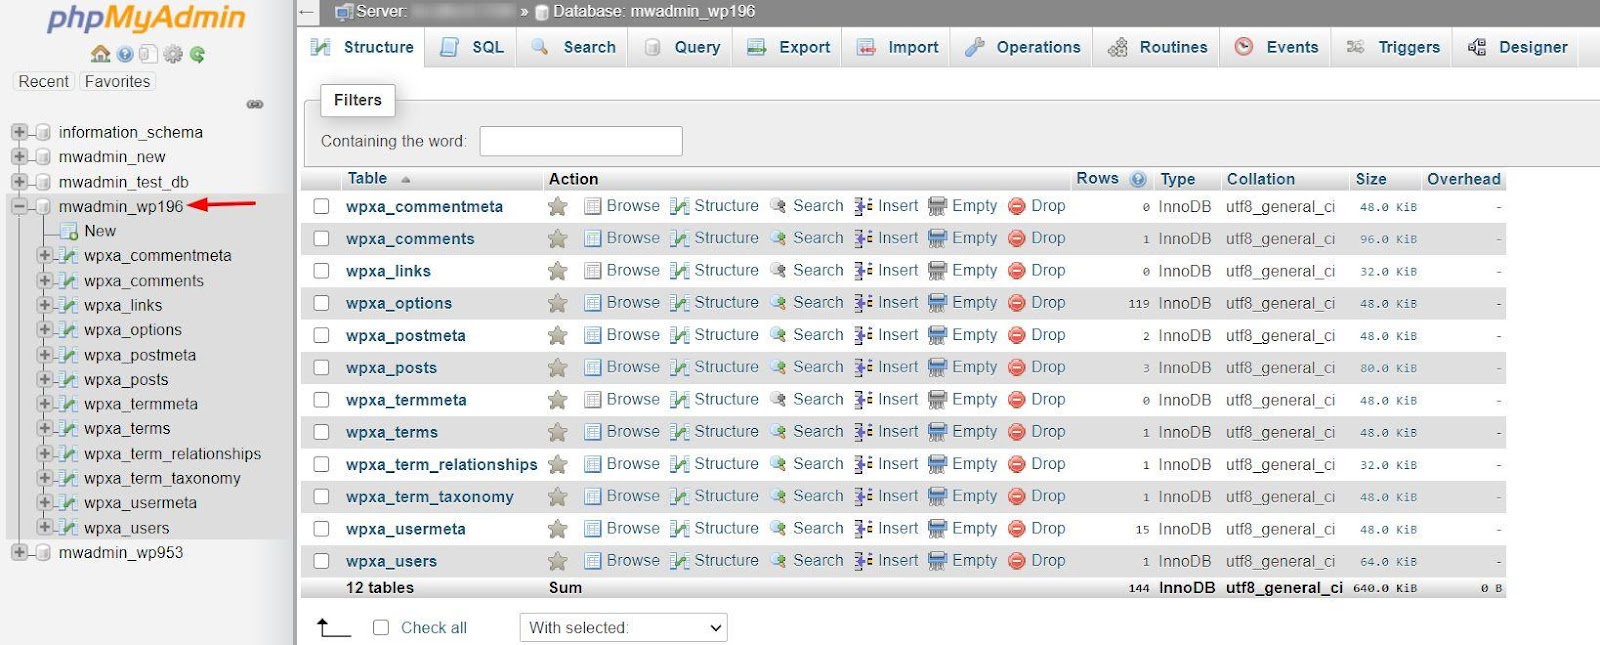
Step 3: Select your database
The phpMyAdmin window will open. Choose a database from the list on the left side of your screen.
-
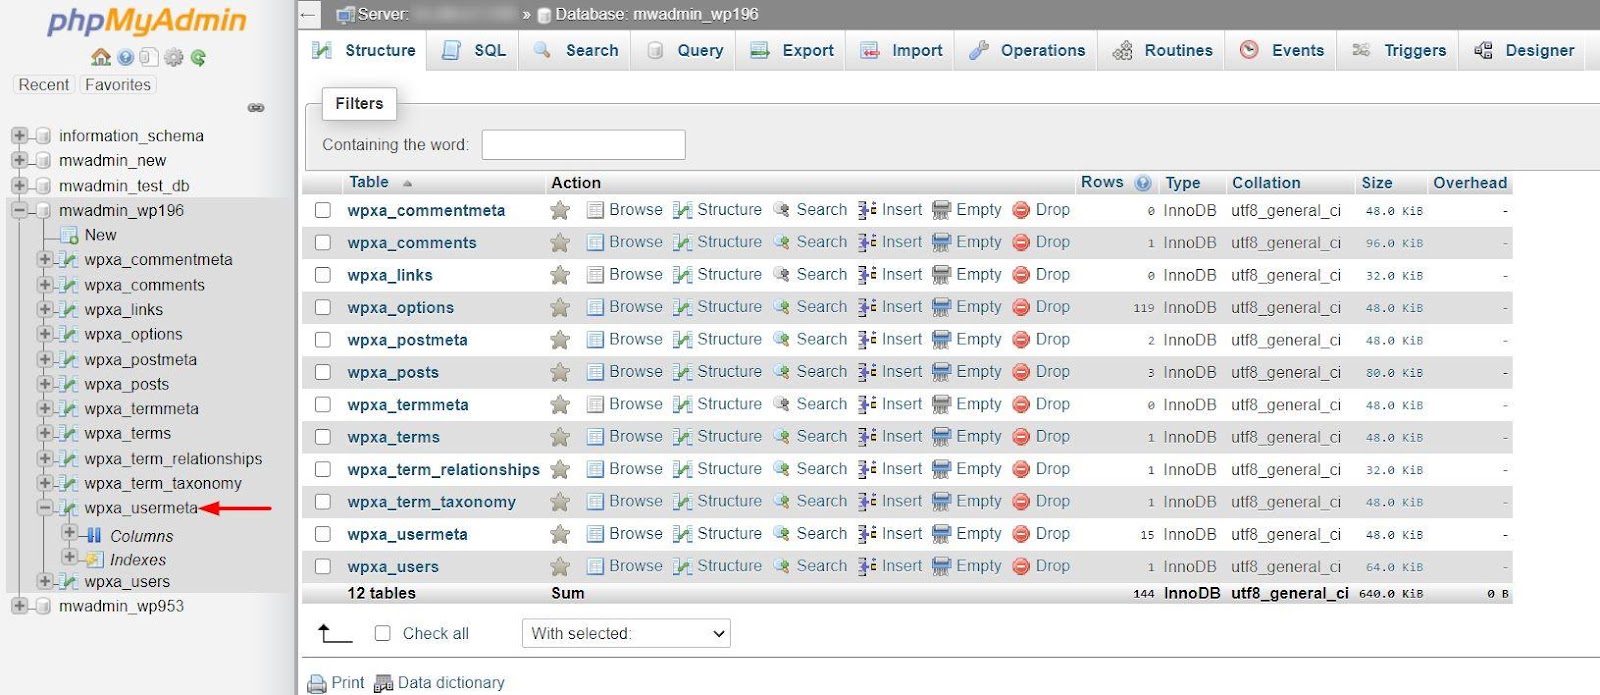
Step 4: Expand the table structure
A list of tables will be displayed. Click on the '+' icon next to the table whose columns you wish to modify.
-
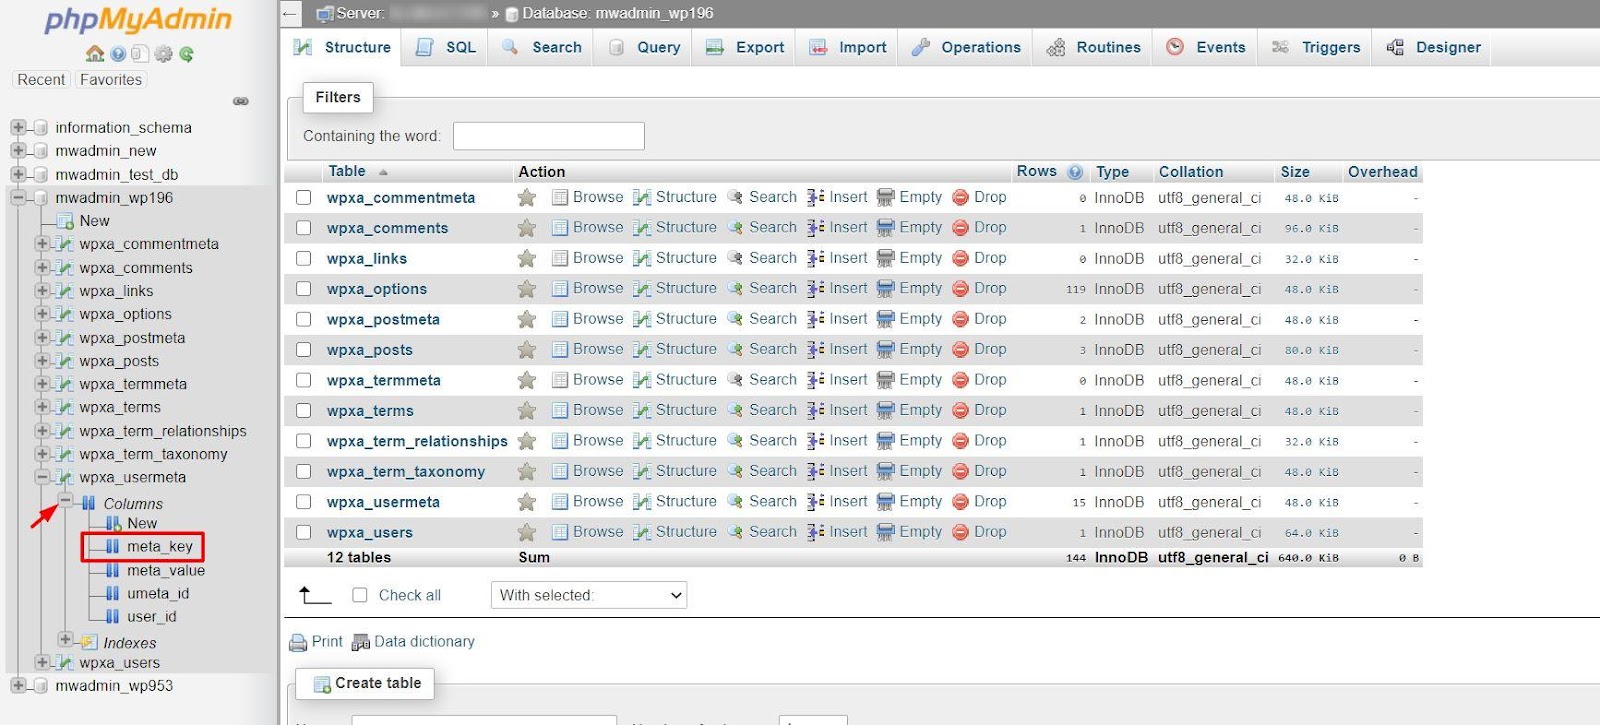
Step 5: View the columns
Click on the '+' icon next to "Columns" to reveal the list of columns within the table.
-
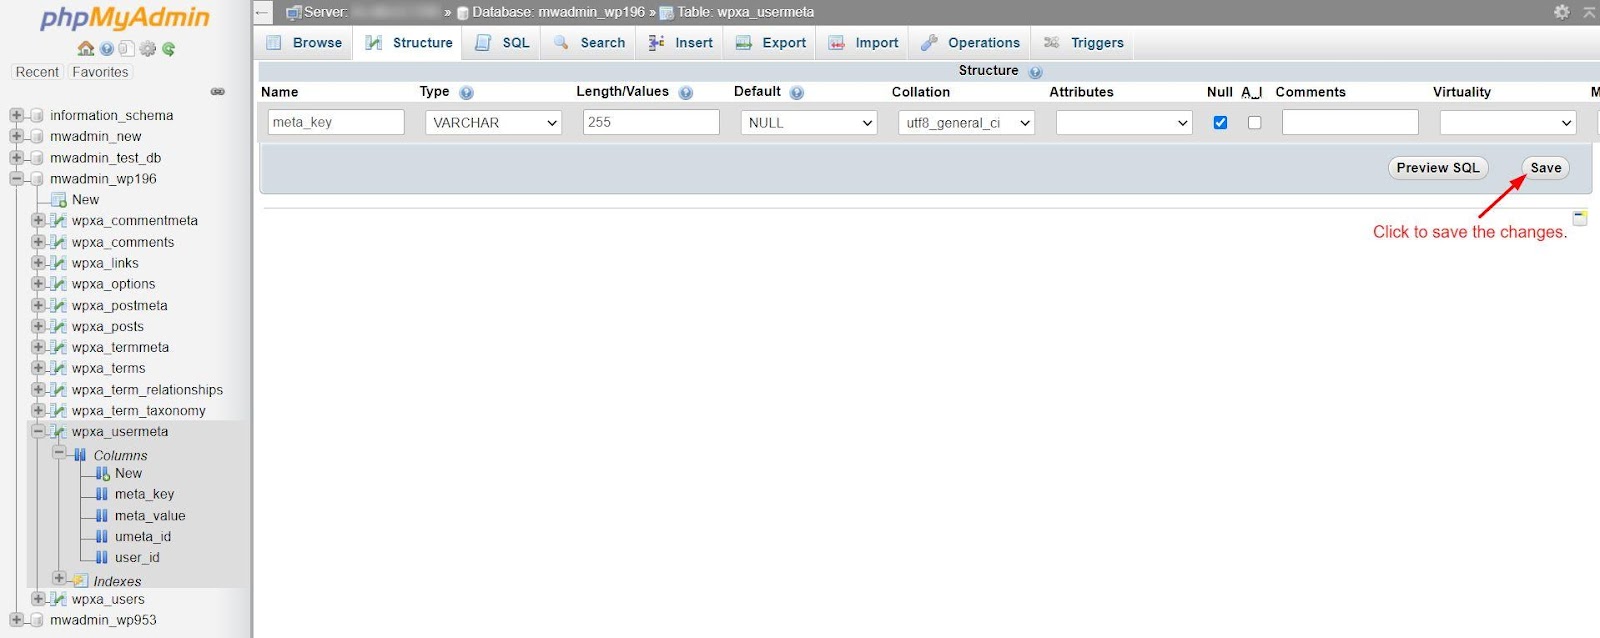
Step 6: Modify column attributes and save
A panel allowing you to input and modify column attributes will appear. You can edit the column's name, field length (character limit), default value, and more.
Warning: Modifying specific aspects of table columns may lead to data loss or alteration. For instance, reducing the field length from 20 characters to 15 characters will truncate all data in that column to 15 characters.
After completing all modifications, click on Save.
phpMyAdmin will implement the changes, updating the table accordingly.