MySQL Workbench is an open-source tool that enables you to connect to server databases from any computer. This guide walks you through downloading, installing, and configuring MySQL Workbench to establish a connection to your database.
Prerequisites
Before installing MySQL Workbench, ensure you have the Visual C++ Redistributable Package version 2015-2019 installed. The installation will not proceed without this prerequisite.
Download MySQL Workbench for free at: https://dev.mysql.com/downloads/workbench/
How to Connect
-
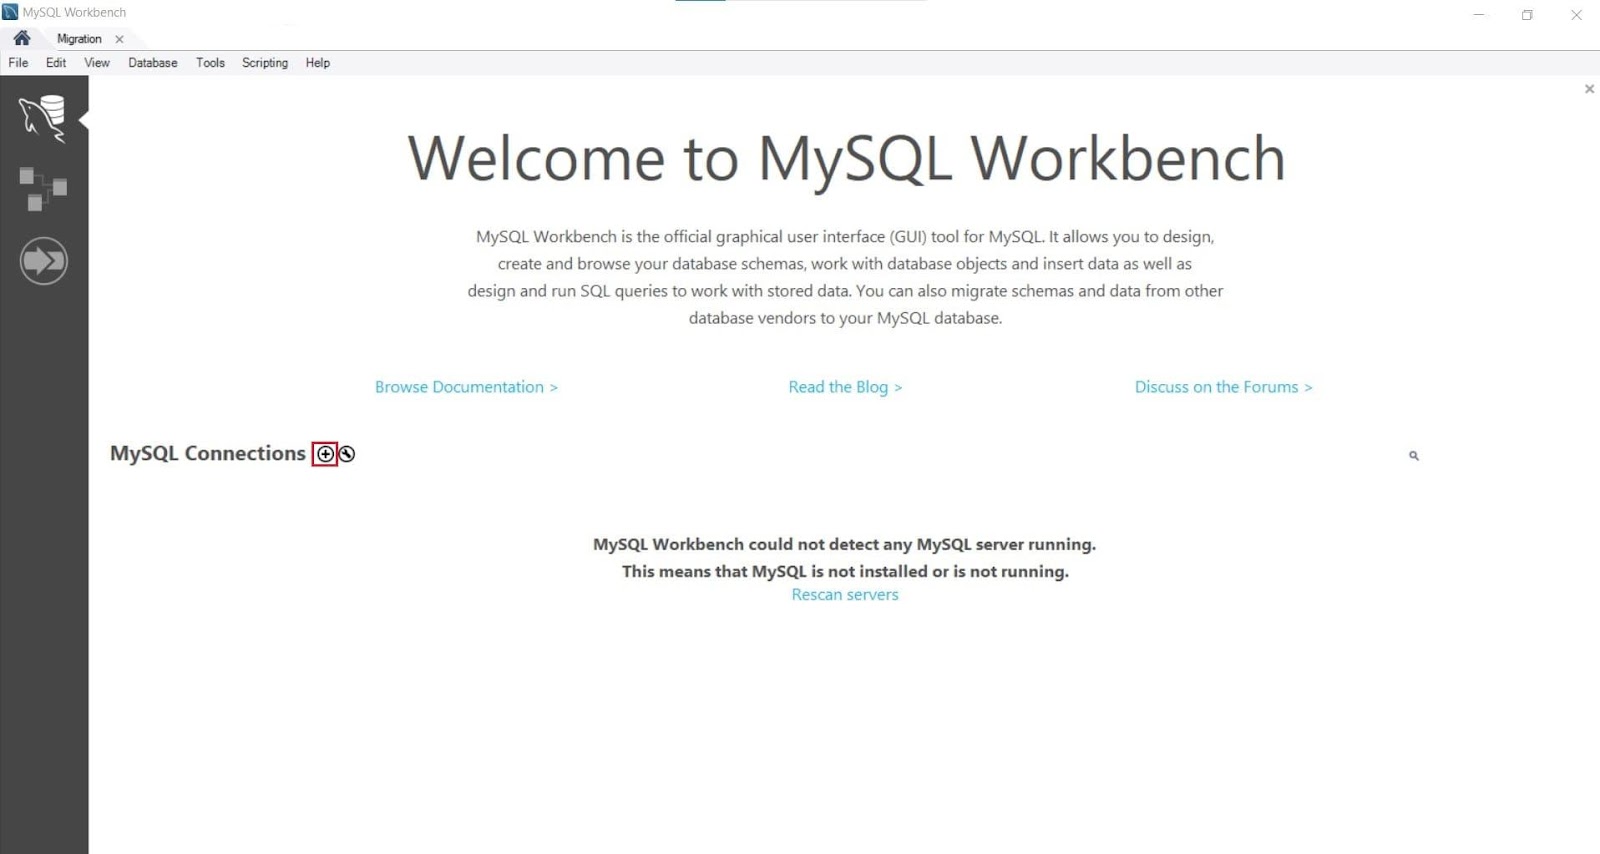
Step 1: Launch MySQL Workbench
Open the MySQL Workbench application on your computer.
-
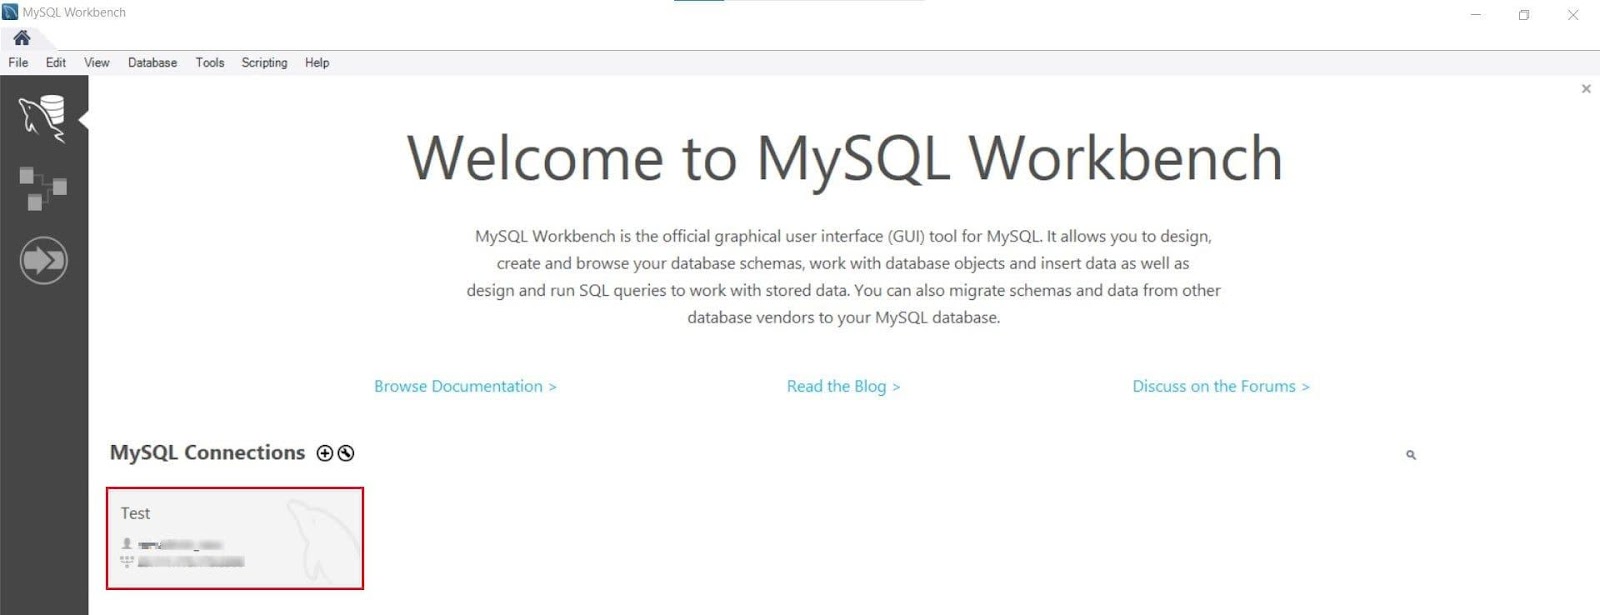
Step 2: Create a New Connection
Click the '+' icon next to MySQL Connections to open the connection setup dialog.
-
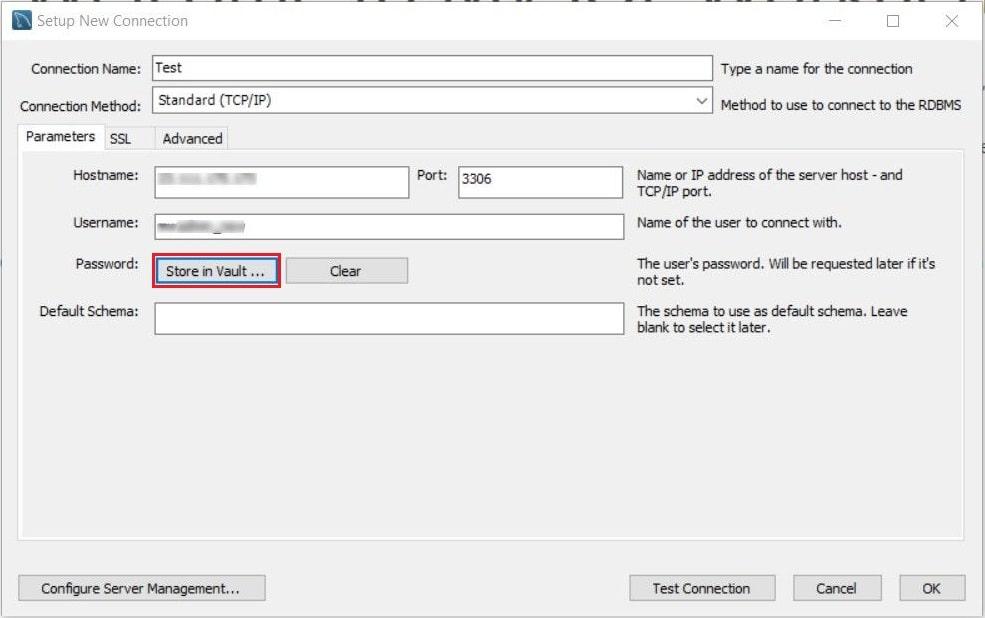
Step 3: Configure Connection Settings
In the "Set Up a New Connection" dialog window, fill in the following fields:
- Connection Name: Assign a descriptive name to your connection
- Connection Method: Keep the default setting: Standard (TCP/IP)
- Hostname: Enter the IP address of your database host
- Port: Leave unchanged at 3306
- Username: Enter your control panel account username or the designated database user
- Password: Click "Store in Vault" to securely save your password
-
Step 4: Store Your Password
When the "Store Password For Connection" window appears, enter your control panel account password or database user password, then click OK.
-
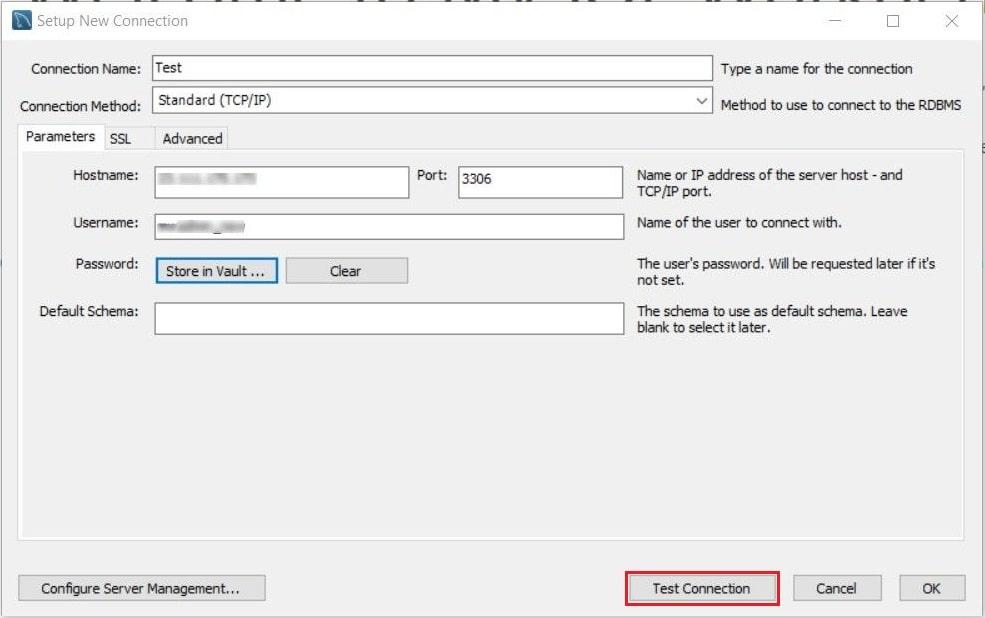
Step 5: Test the Connection
Click the "Test Connection" button to verify that the connection can be established successfully.
-
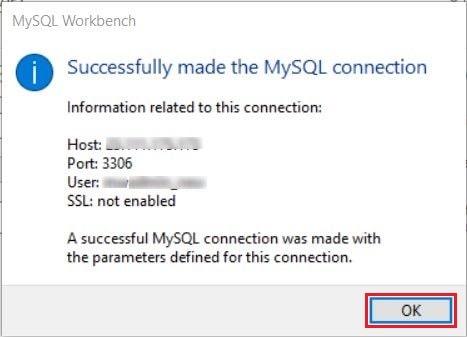
Step 6: Confirm Successful Connection
Upon successful connection, a confirmation message will appear with connection details. Click OK to proceed.
-
Step 7: Save and Open the Connection
Click OK in the "Set up a New Connection" dialog box to save the connection. The newly created connection will appear in the MySQL Connections list.
-
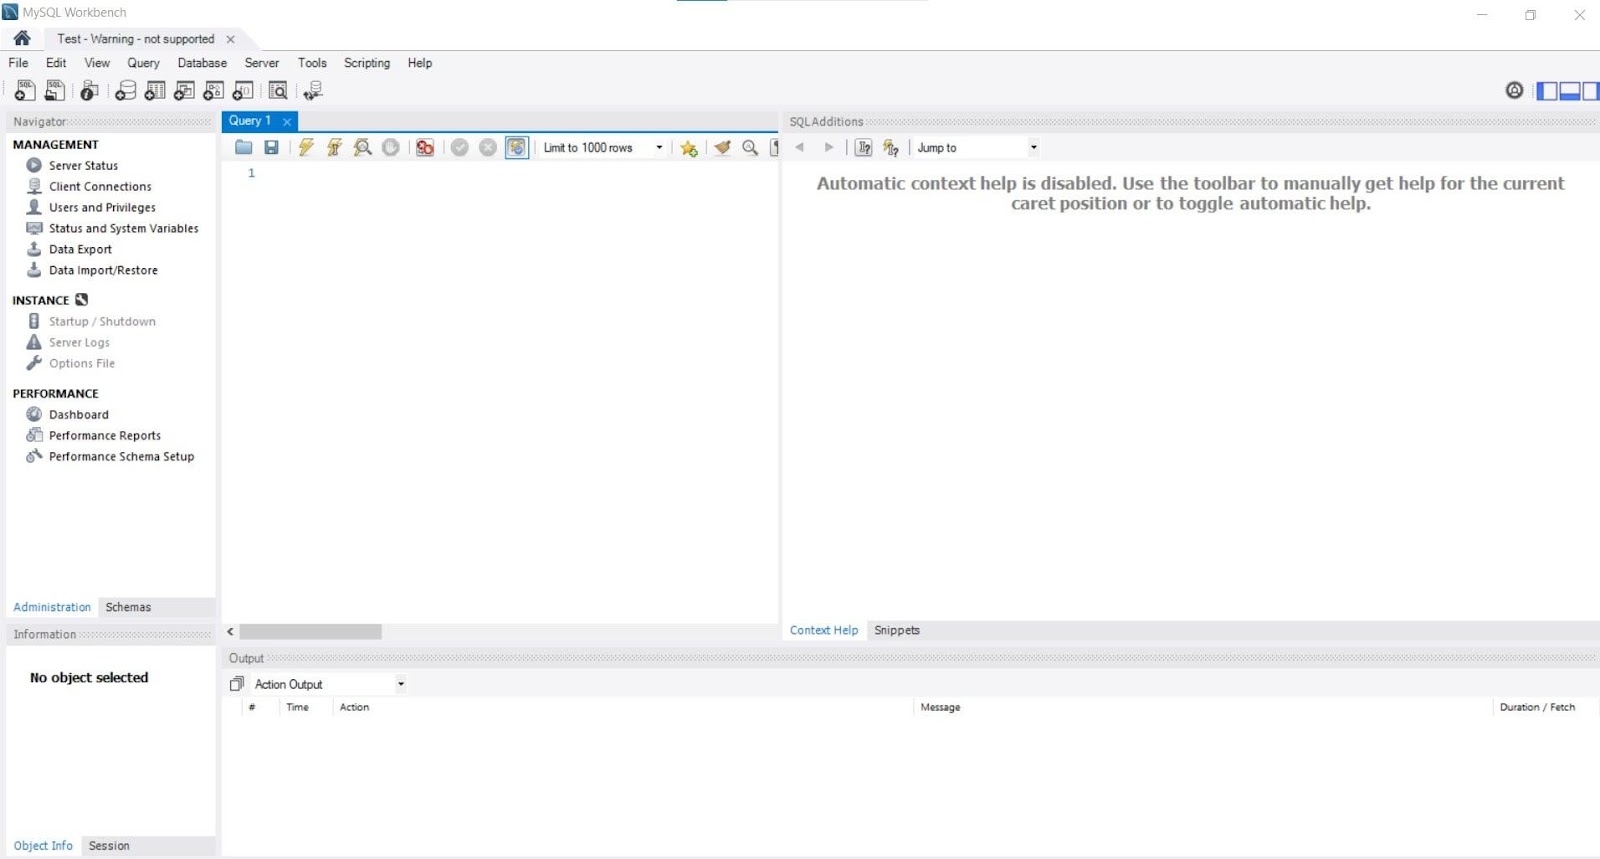
Step 8: Access Your Database
Click on your newly created connection to open it. The database will open in a new window, displaying its tables and structure.