Some users may not be able to send emails after installing the CSF Firewall application. This problem is more frequent among WordPress users. By configuring the outbound SMTP settings for CSF Firewall using WHM, you can resolve this issue and allow your server to send emails properly.
How to Do It
-
Step 1: Log in to WHM
Log in to your WHM root account.
-
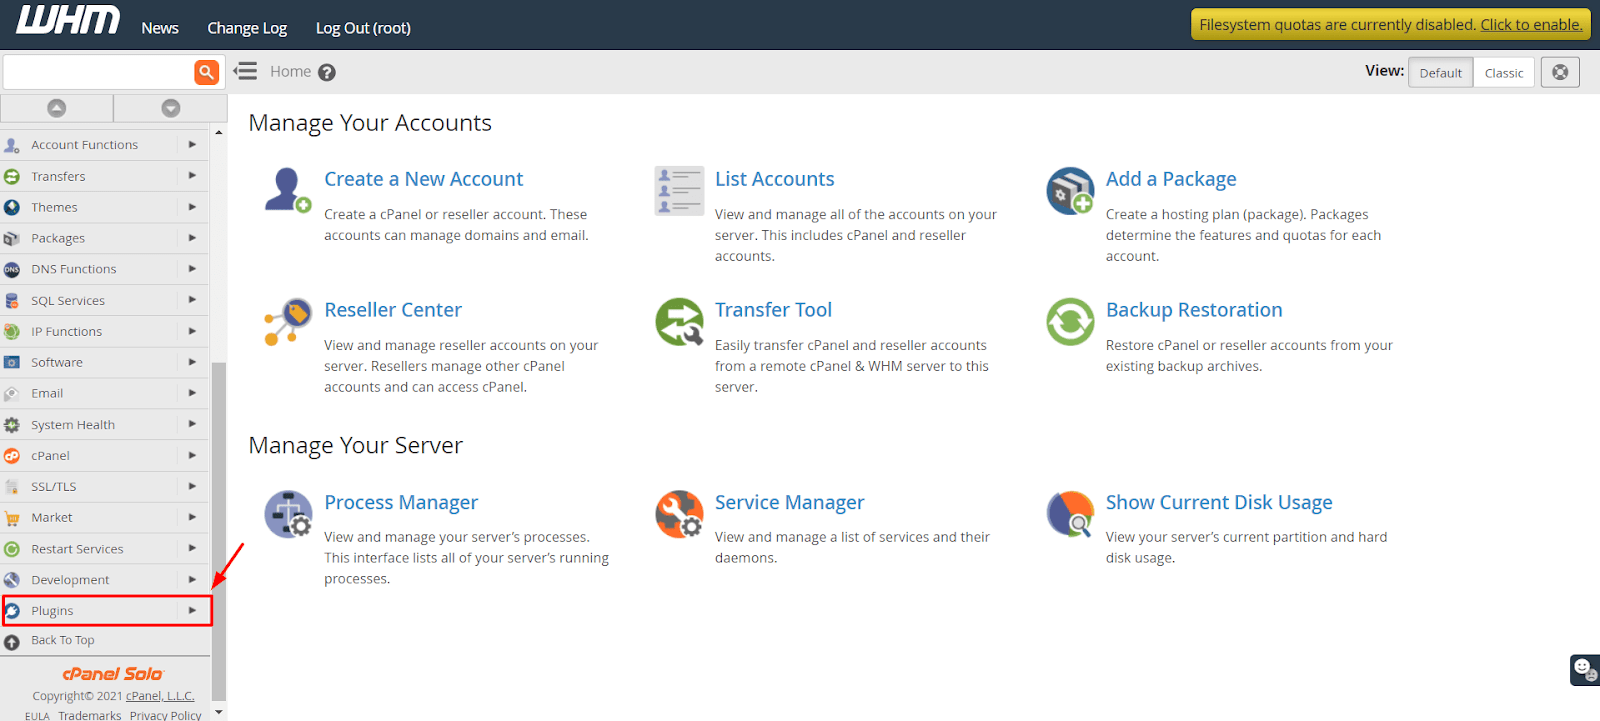
Step 2: Access Plugins
Navigate to Plugins from the menu.
-
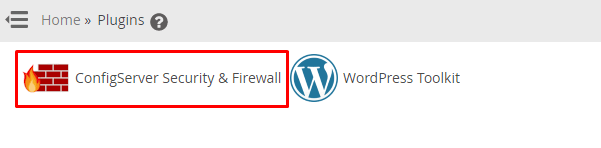
Step 3: Open ConfigServer Security & Firewall
Click on ConfigServer Security & Firewall.
The CSF application will open.
-
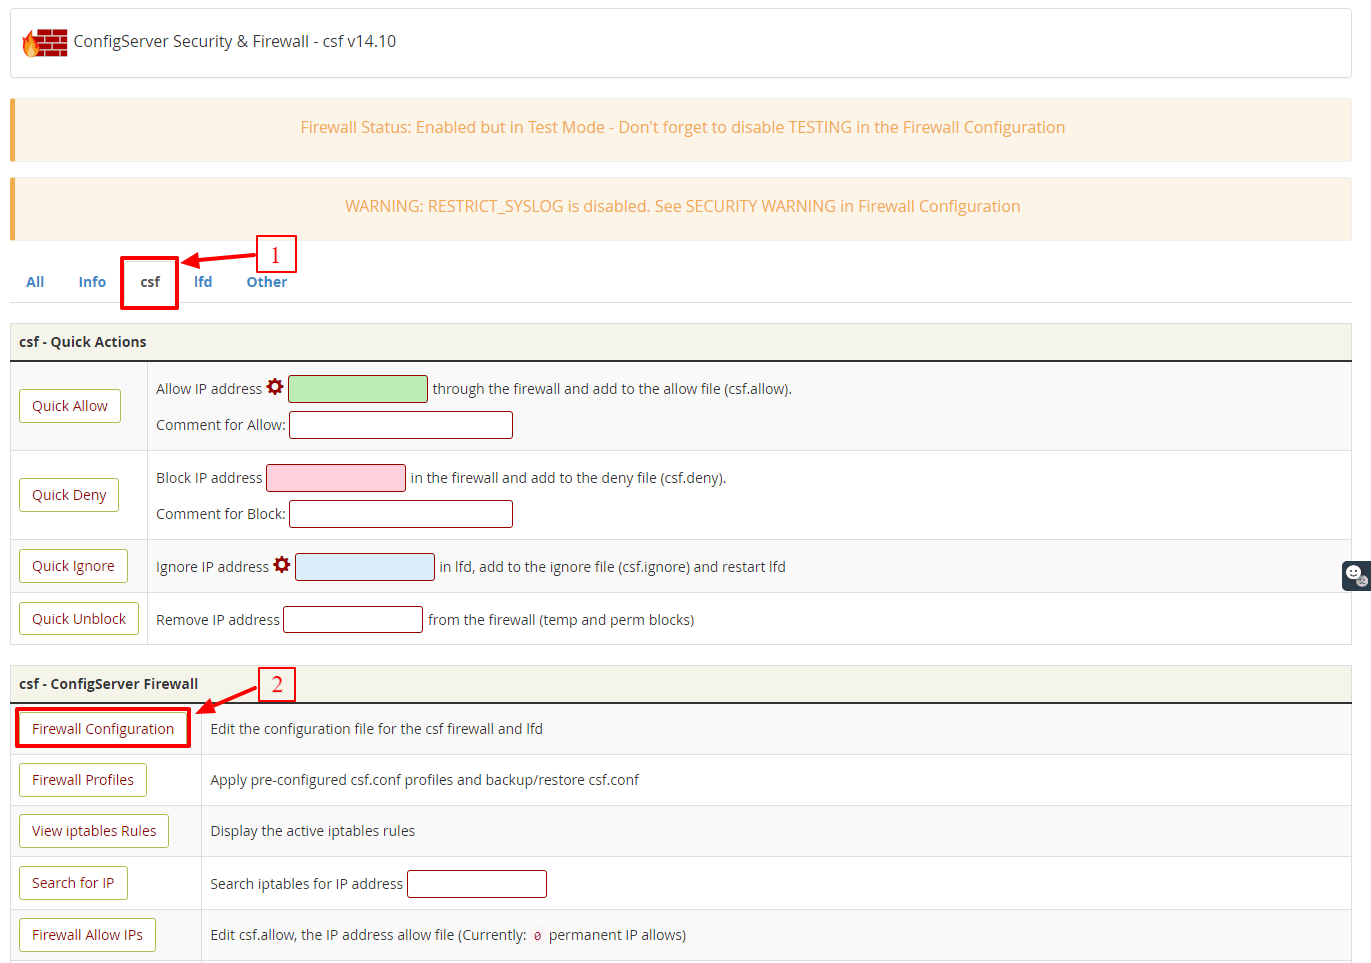
Step 4: Access Firewall Configuration
Select the csf tab and click the Firewall Configuration button in the csf - ConfigServer Firewall section.
The ConfigServer Firewall's configuration interface will appear.
-
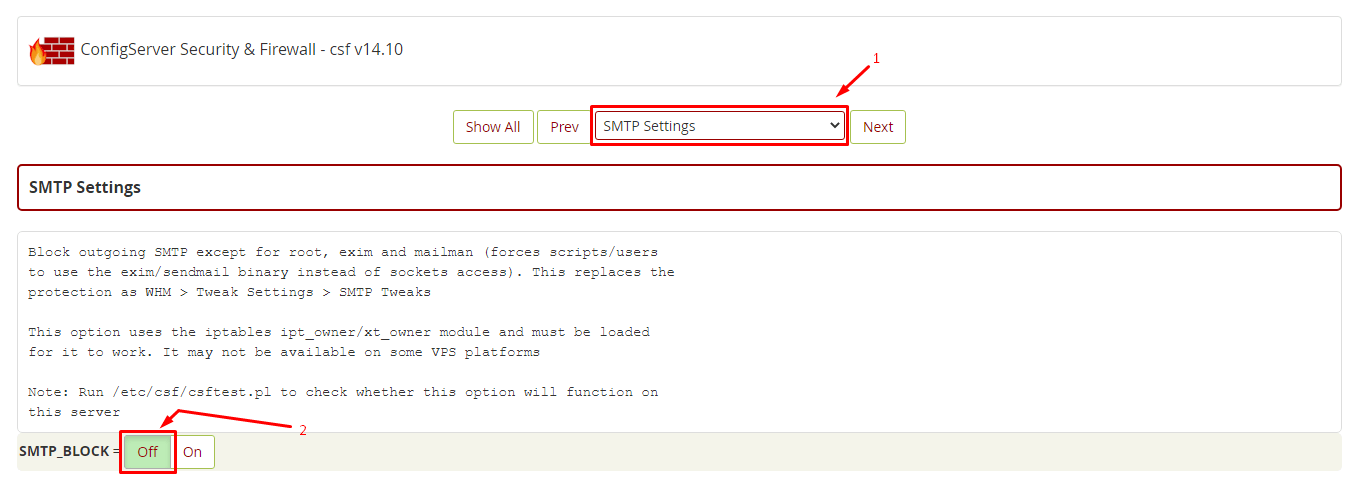
Step 5: Disable SMTP Blocking
Scroll down to the SMTP Settings section and click the Off switch for the
SMTP_BLOCKfield. -
Step 6: Save Changes
Scroll to the end of the page and click the Change button to save your changes.
-
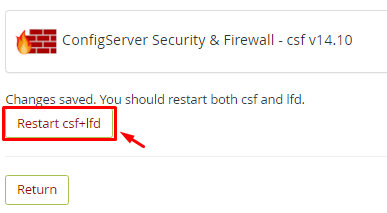
Step 7: Restart CSF
Click the Restart csf+lfd button to reboot the CSF application and apply the changes.
The CSF Firewall will no longer block outgoing SMTP traffic for your WHM/cPanel server.