Greylisting is a WHM feature that reduces spam by temporarily deferring suspicious emails. Legitimate mail servers will retry delivery, while spam sources typically won't. This guide shows you how to enable and configure Greylisting to improve your email security.
How to Configure Greylisting
-
Step 1: Access WHM
Log in to WHM as the
rootuser. -
Step 2: Navigate to Greylisting
Use the search bar to find "Greylisting" and open the Greylisting Configuration interface.
-
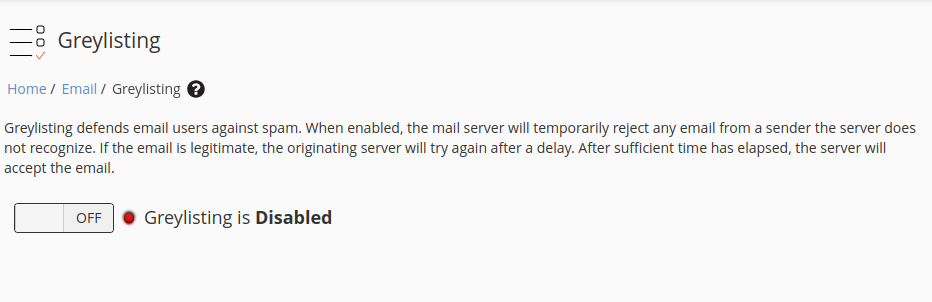
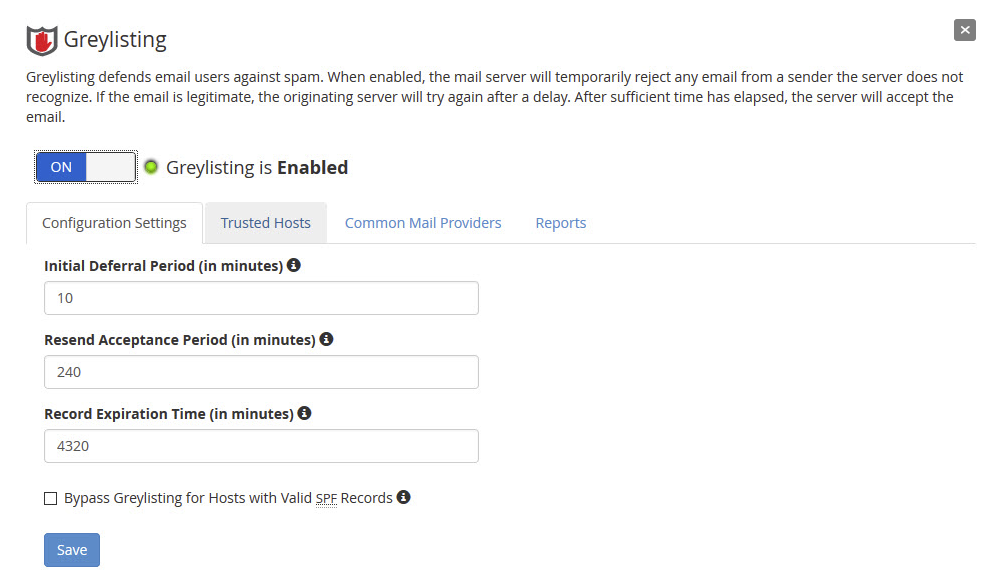
Step 3: Enable Greylisting
Click the "OFF" button to activate Greylisting.
-
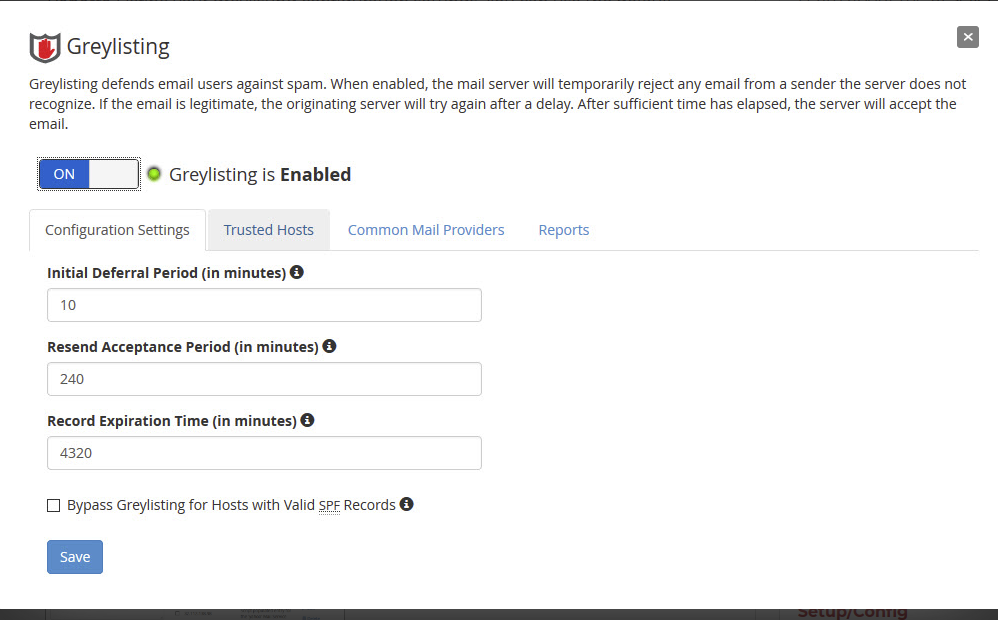
Step 4: Configure Greylisting Settings
Choose to use the default settings or customize them according to your needs.
-
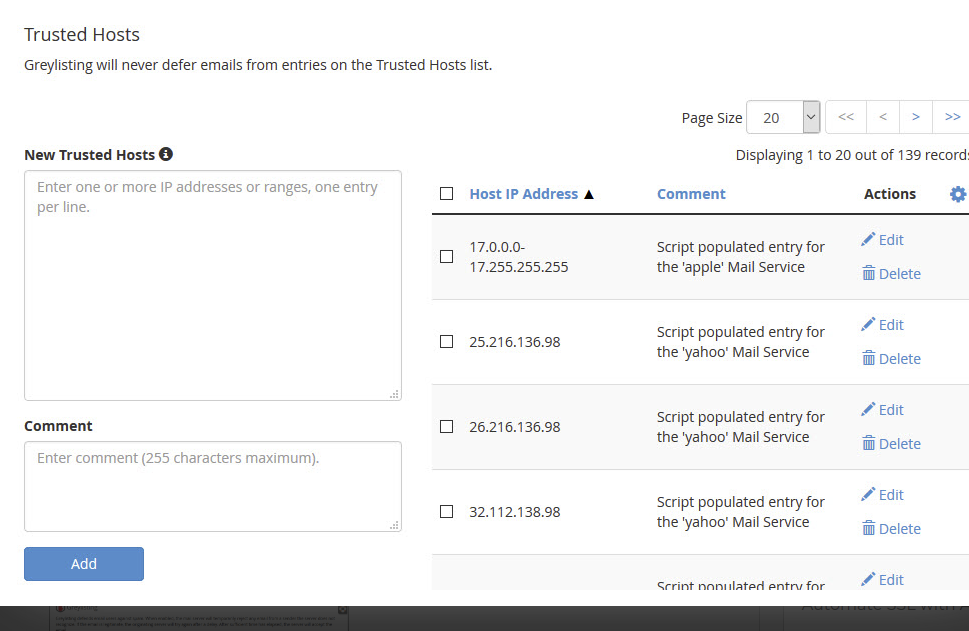
Step 5: Add Trusted Hosts
Use the "Trusted Hosts" section to define hosts that you commonly receive email from and do not want Greylisting to affect.
-
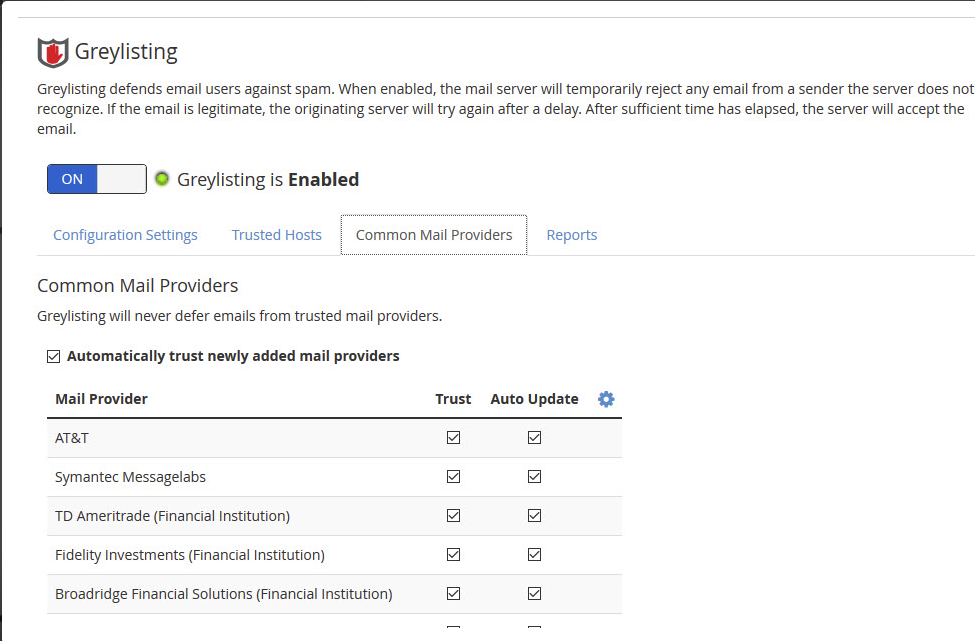
Step 6: Configure Common Mail Providers
Navigate to the "Common Mail Providers" section and edit as needed to exclude major email providers from greylisting.
-
Step 7: Monitor Deferred Emails
Use the "Reports" tab to view deferred emails categorized by sender IP address, From Address, and To Address.