This guide explains how to customize your cPanel server using WHM's Server Profile feature. Server profiles allow you to configure your server for specific roles (standard hosting, DNS, mail, or database services) by enabling only the necessary services and cPanel features for that purpose.
How to Set a Server Profile
-
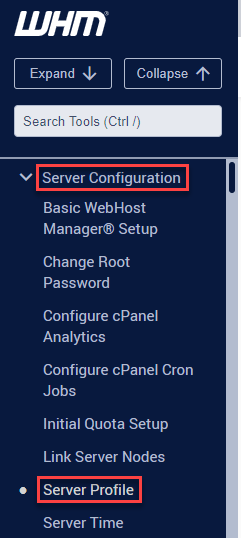
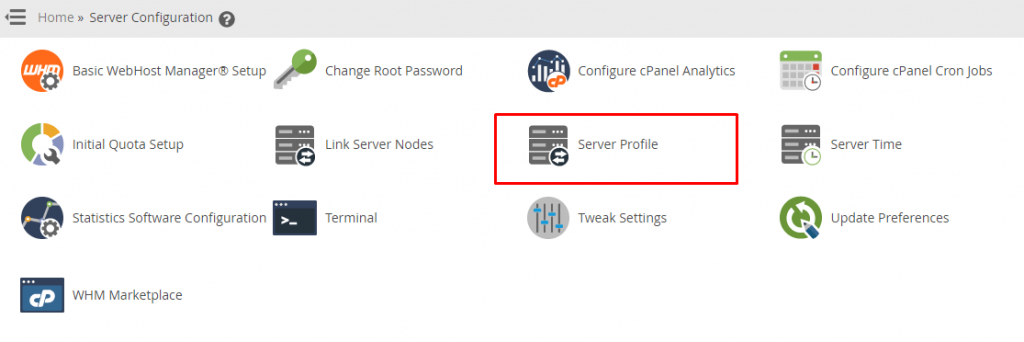
Step 1: Access WHM Server Profile Settings
Log in to WHM and navigate to Server Configuration in the left-hand menu, then click on Server Profile.
-
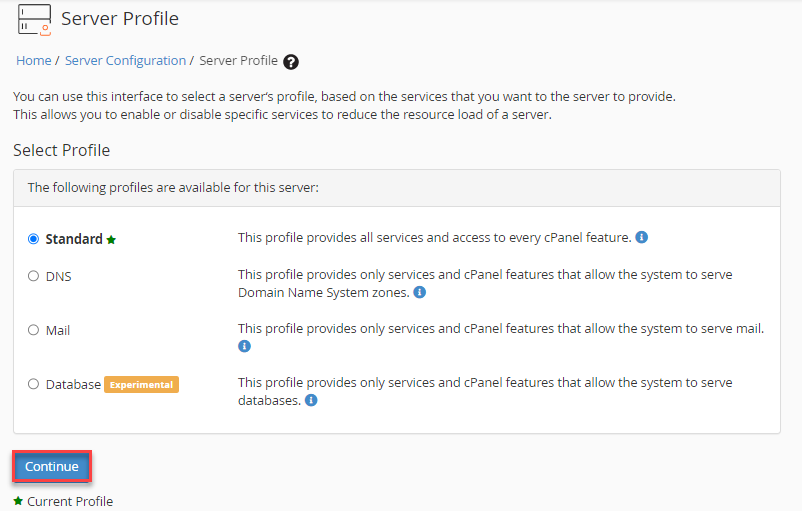
Step 2: Review Available Server Profiles
The Server Profile interface displays four profile options:
- Standard: Includes all services and access to every cPanel feature (full hosting environment).
- DNS: Limited to services and cPanel features for serving Domain Name System zones.
- Mail: Limited to services and cPanel features for serving mail.
- Database: Limited to services and cPanel features for serving databases.
-
Step 3: Select Your Desired Profile
Choose the server profile that matches your server's intended role and click the Continue button.
-
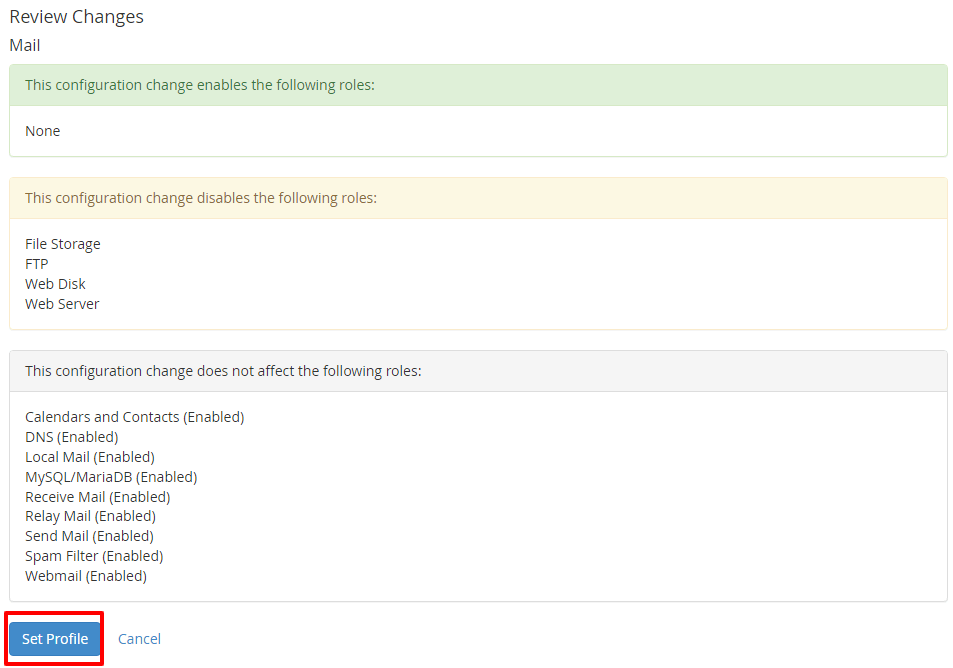
Step 4: Confirm and Apply the Profile
Review the modifications and functions associated with the selected profile. When ready, click Set Profile to apply the configuration.
WHM will establish the server profile for your cPanel hosting and implement configurations tailored to its designated role.