AutoSSL automatically secures your websites with a complimentary Sectigo Domain Validated (DV) SSL certificate. This guide shows you how to enable AutoSSL for all users in your WHM panel, ensuring all hosted sites receive SSL protection. By following these steps, you can streamline the process of securing multiple domains without manually configuring each one.
How to Enable AutoSSL
-
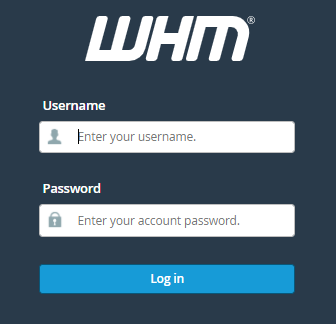
Step 1: Log in to WHM
Access your WHM account and log in with your credentials. Ensure you are using a secure connection (HTTPS) to protect your login information.
-
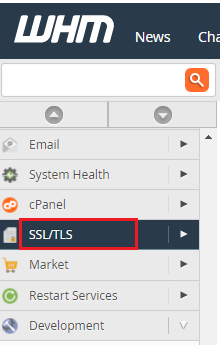
Step 2: Navigate to SSL/TLS
Once logged in, locate the SSL/TLS section on the main dashboard. Click on it to expand and view all SSL-related options.
-
Step 3: Open Manage AutoSSL
In the SSL/TLS section, find and click on the Manage AutoSSL option. This page provides an overview of your current AutoSSL configuration.
-
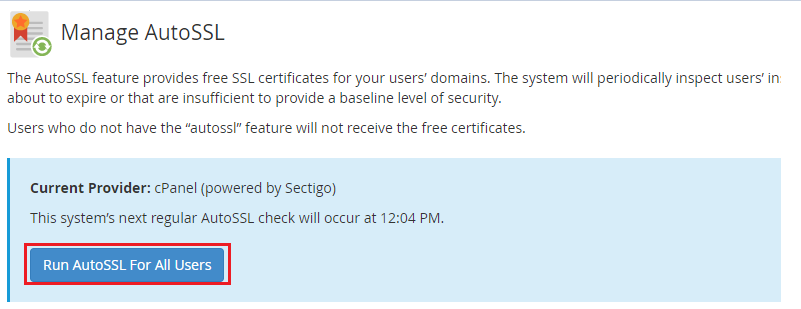
Step 4: Run AutoSSL for All Users
Scroll down to the Run AutoSSL for all users section. Click the Run AutoSSL for all users button to initiate the process. This action will automatically request and install SSL certificates for all domains hosted under your account.
-
Step 5: Verify Success
After initiating the process, you will receive a success notification confirming that AutoSSL has been enabled for all users. It may take some time for certificates to be issued and installed, especially if there are many domains.


Tips:
- Ensure that all domains are properly configured and DNS records are correctly set up before running AutoSSL.
- Regularly check the SSL status of your domains through WHM to ensure certificates are valid and renewed automatically.
- If you encounter any issues, consult the WHM error logs or contact support for assistance.