Opening ports in the CSF (ConfigServer Security & Firewall) is essential for allowing specific network traffic to reach your server. Ports are communication endpoints identified by 16-bit numbers that enable IP addresses and Internet protocols to communicate with source or destination addresses. This guide shows you how to configure CSF through WHM to open the necessary ports for your server while maintaining security.
How to Do It
-
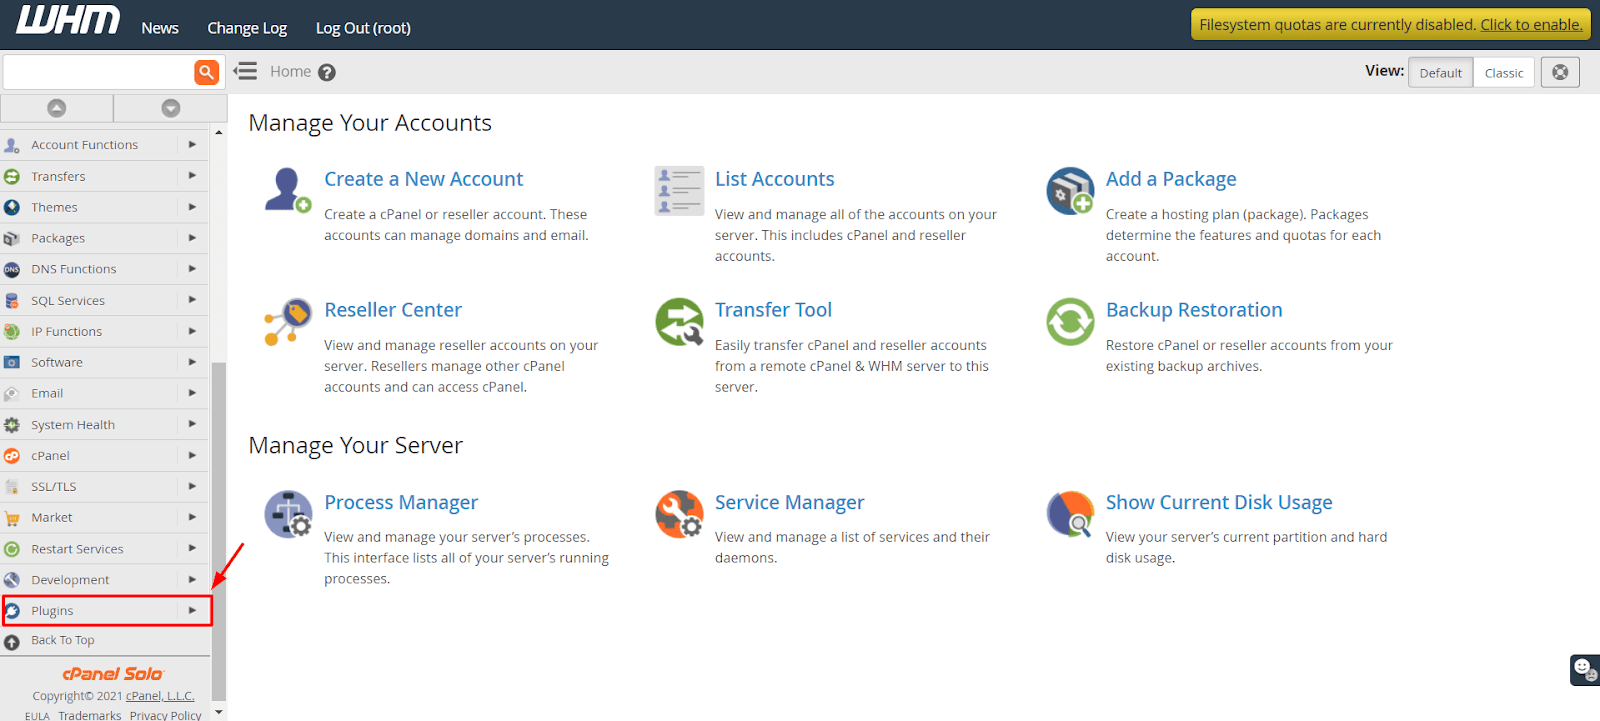
Step 1: Access WHM
Log into WHM with your root account credentials.
-
Step 2: Navigate to Plugins
Select the Plugins option from the navigation menu.
-
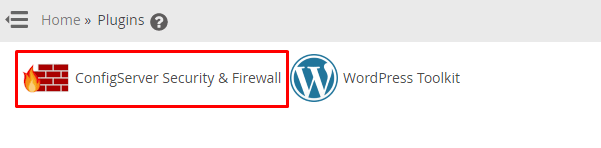
Step 3: Open ConfigServer Security & Firewall
Click on ConfigServer Security & Firewall.
The ConfigServer Security & Firewall panel will appear.
-
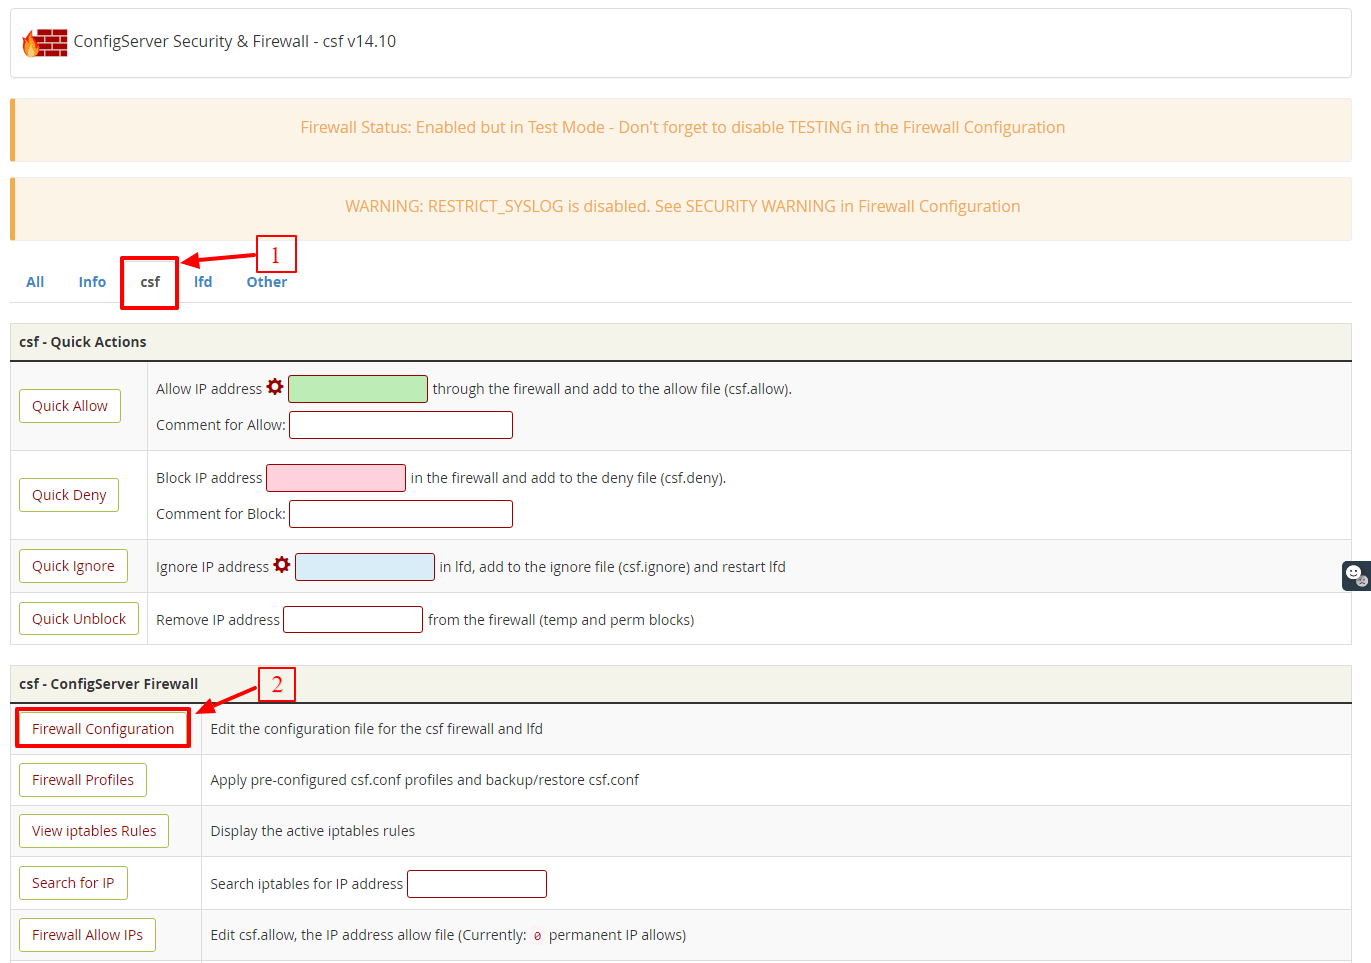
Step 4: Access Firewall Configuration
Go to the csf tab and click on the Firewall Configuration button in the csf-ConfigServer Firewall section.
Different customization options appear for the firewall.
-
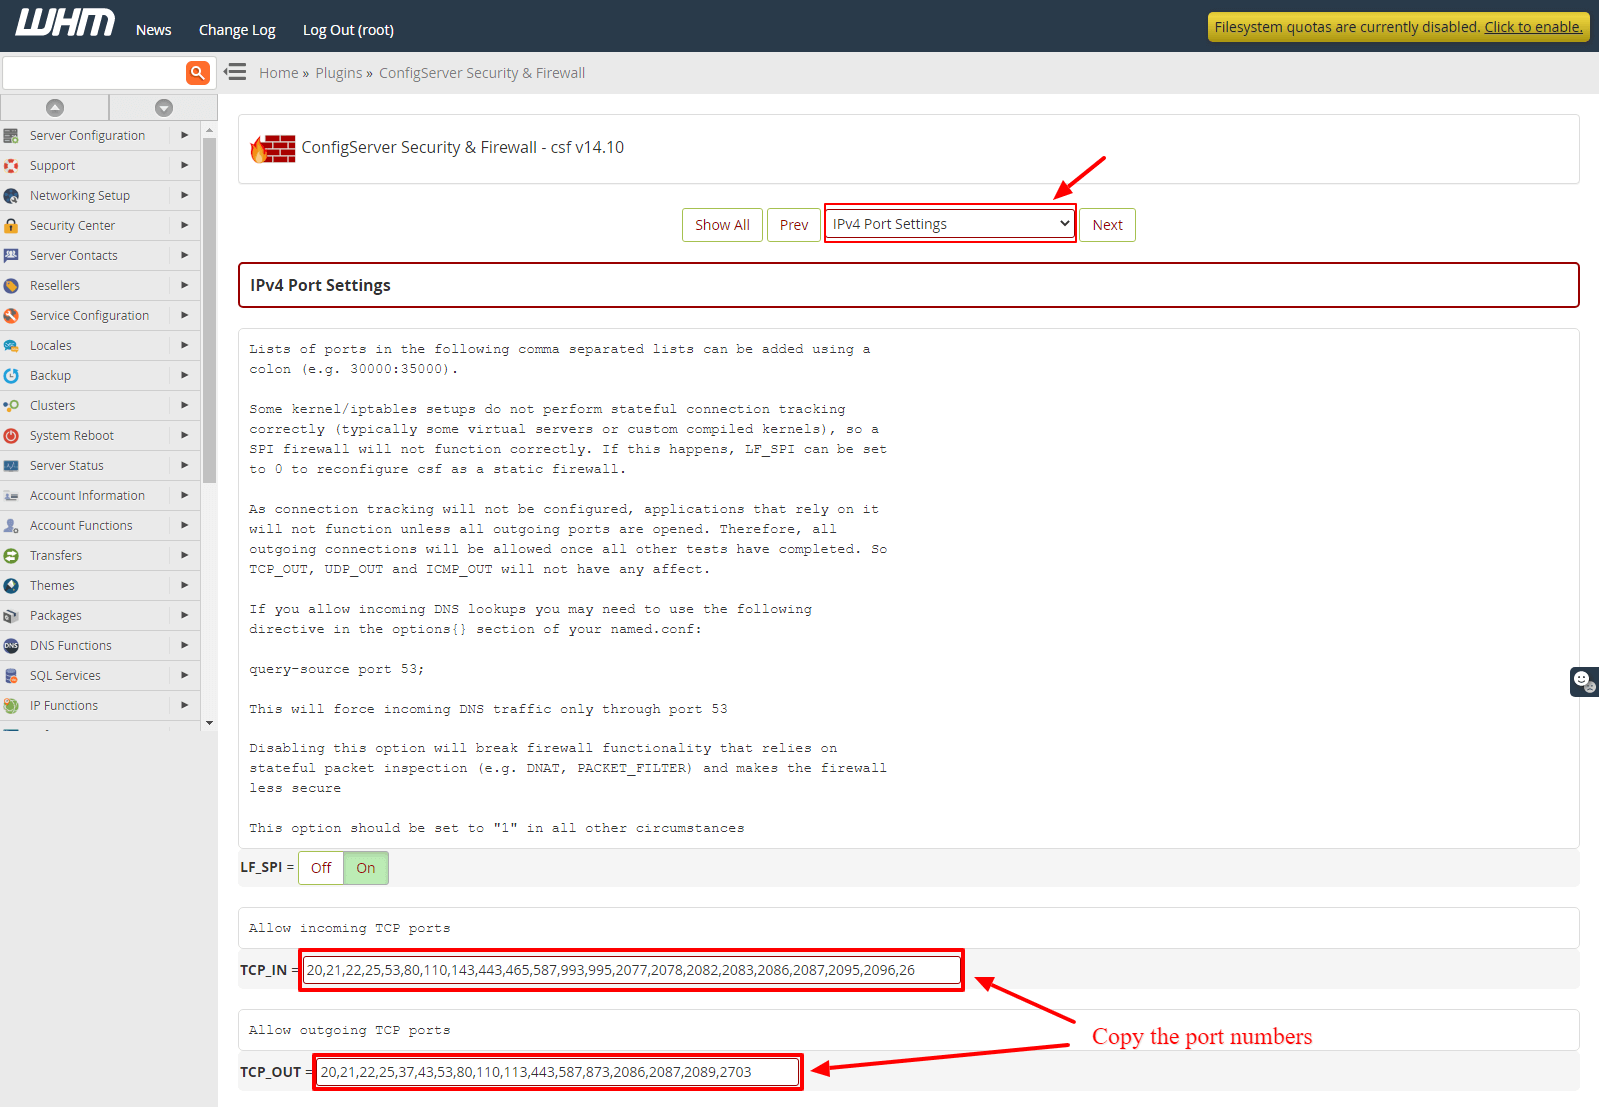
Step 5: Configure IPv4 Port Settings
Select the IPv4 Port Settings section from the dropdown list.
-
Step 6: Enter Port Numbers
Copy or enter the following port numbers in the respective fields:
Allow incoming TCP ports:
20,21,22,25,53,80,110,143,443,465,587,993,995,2077,2078,2082,2083,2086,2087,2095,2096,26Allow outgoing TCP ports:
20,21,22,25,37,43,53,80,110,113,443,587,873,2086,2087,2089,2703Although we recommend these port numbers, you can enter other port numbers as per your requirements.
-
Step 7: Save Configuration
Click the Change button at the end to save the changes you made to the firewall configuration.
-
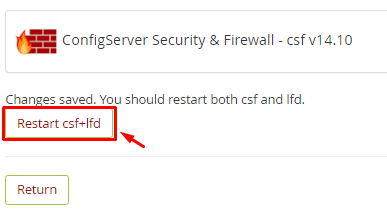
Step 8: Restart CSF
Click on Restart csf+lfd to restart the CSF firewall and apply the changes.